Pine 4x12 with Celestion Blues dimension question[s]

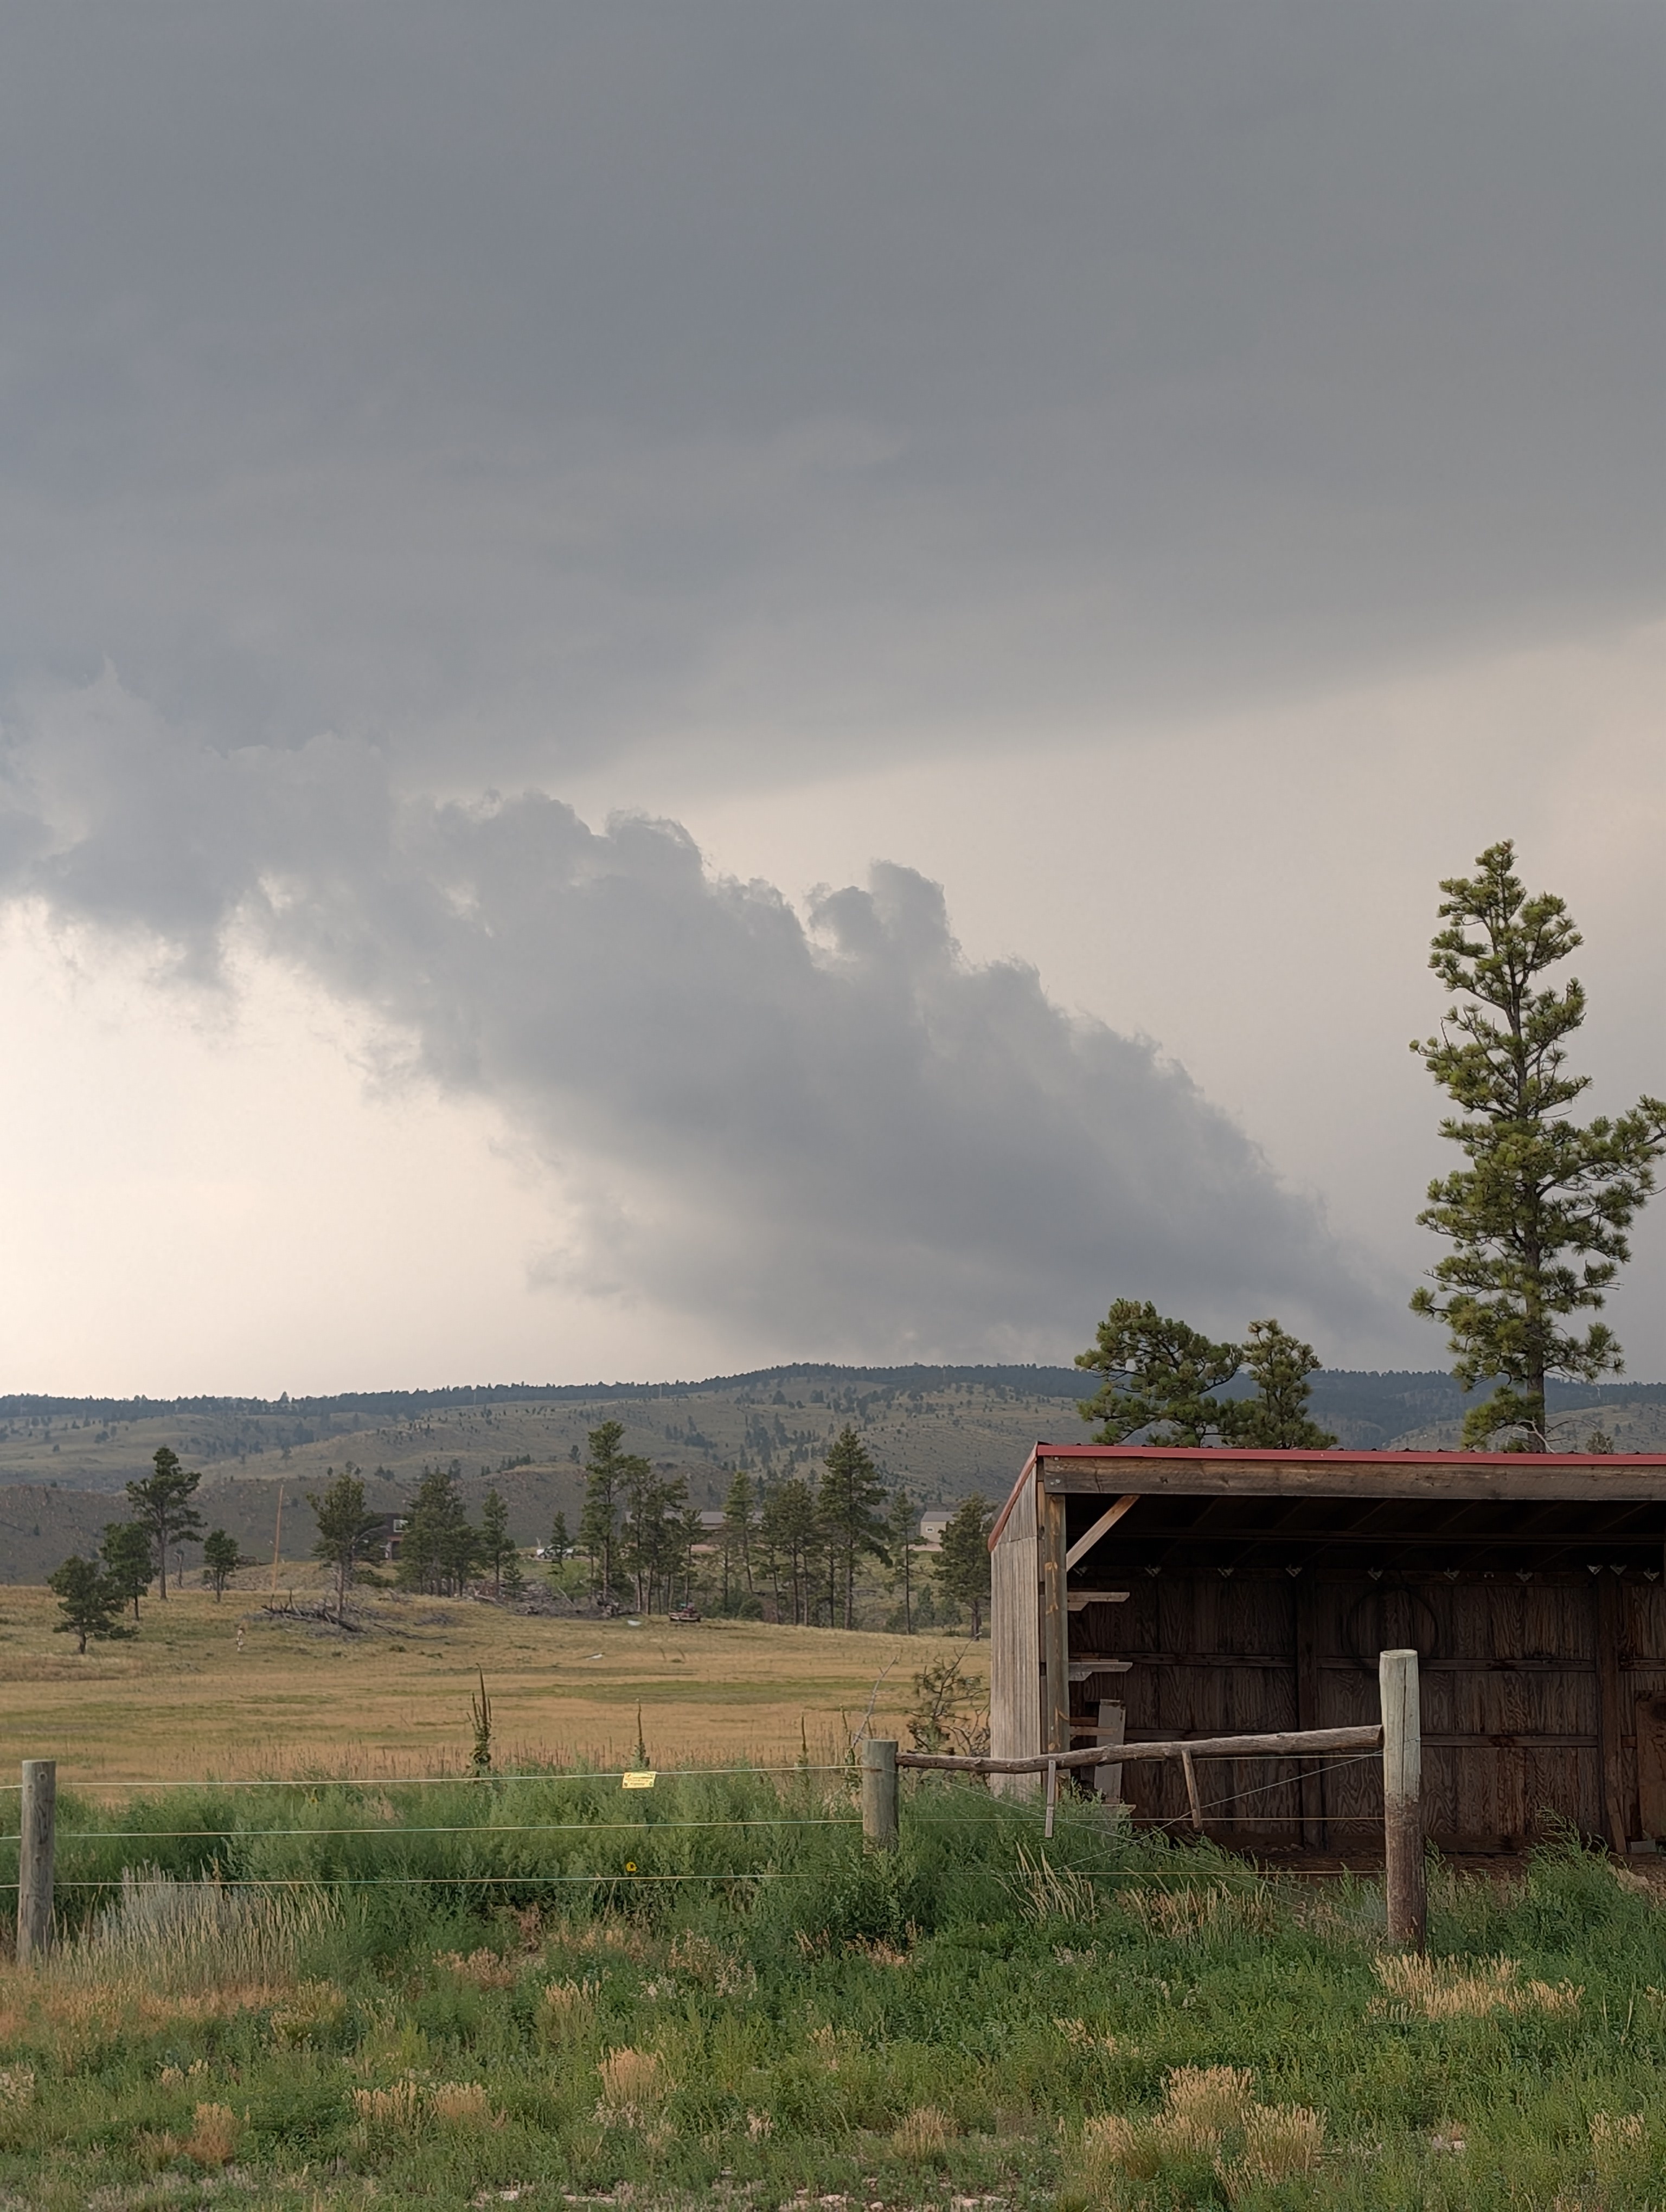
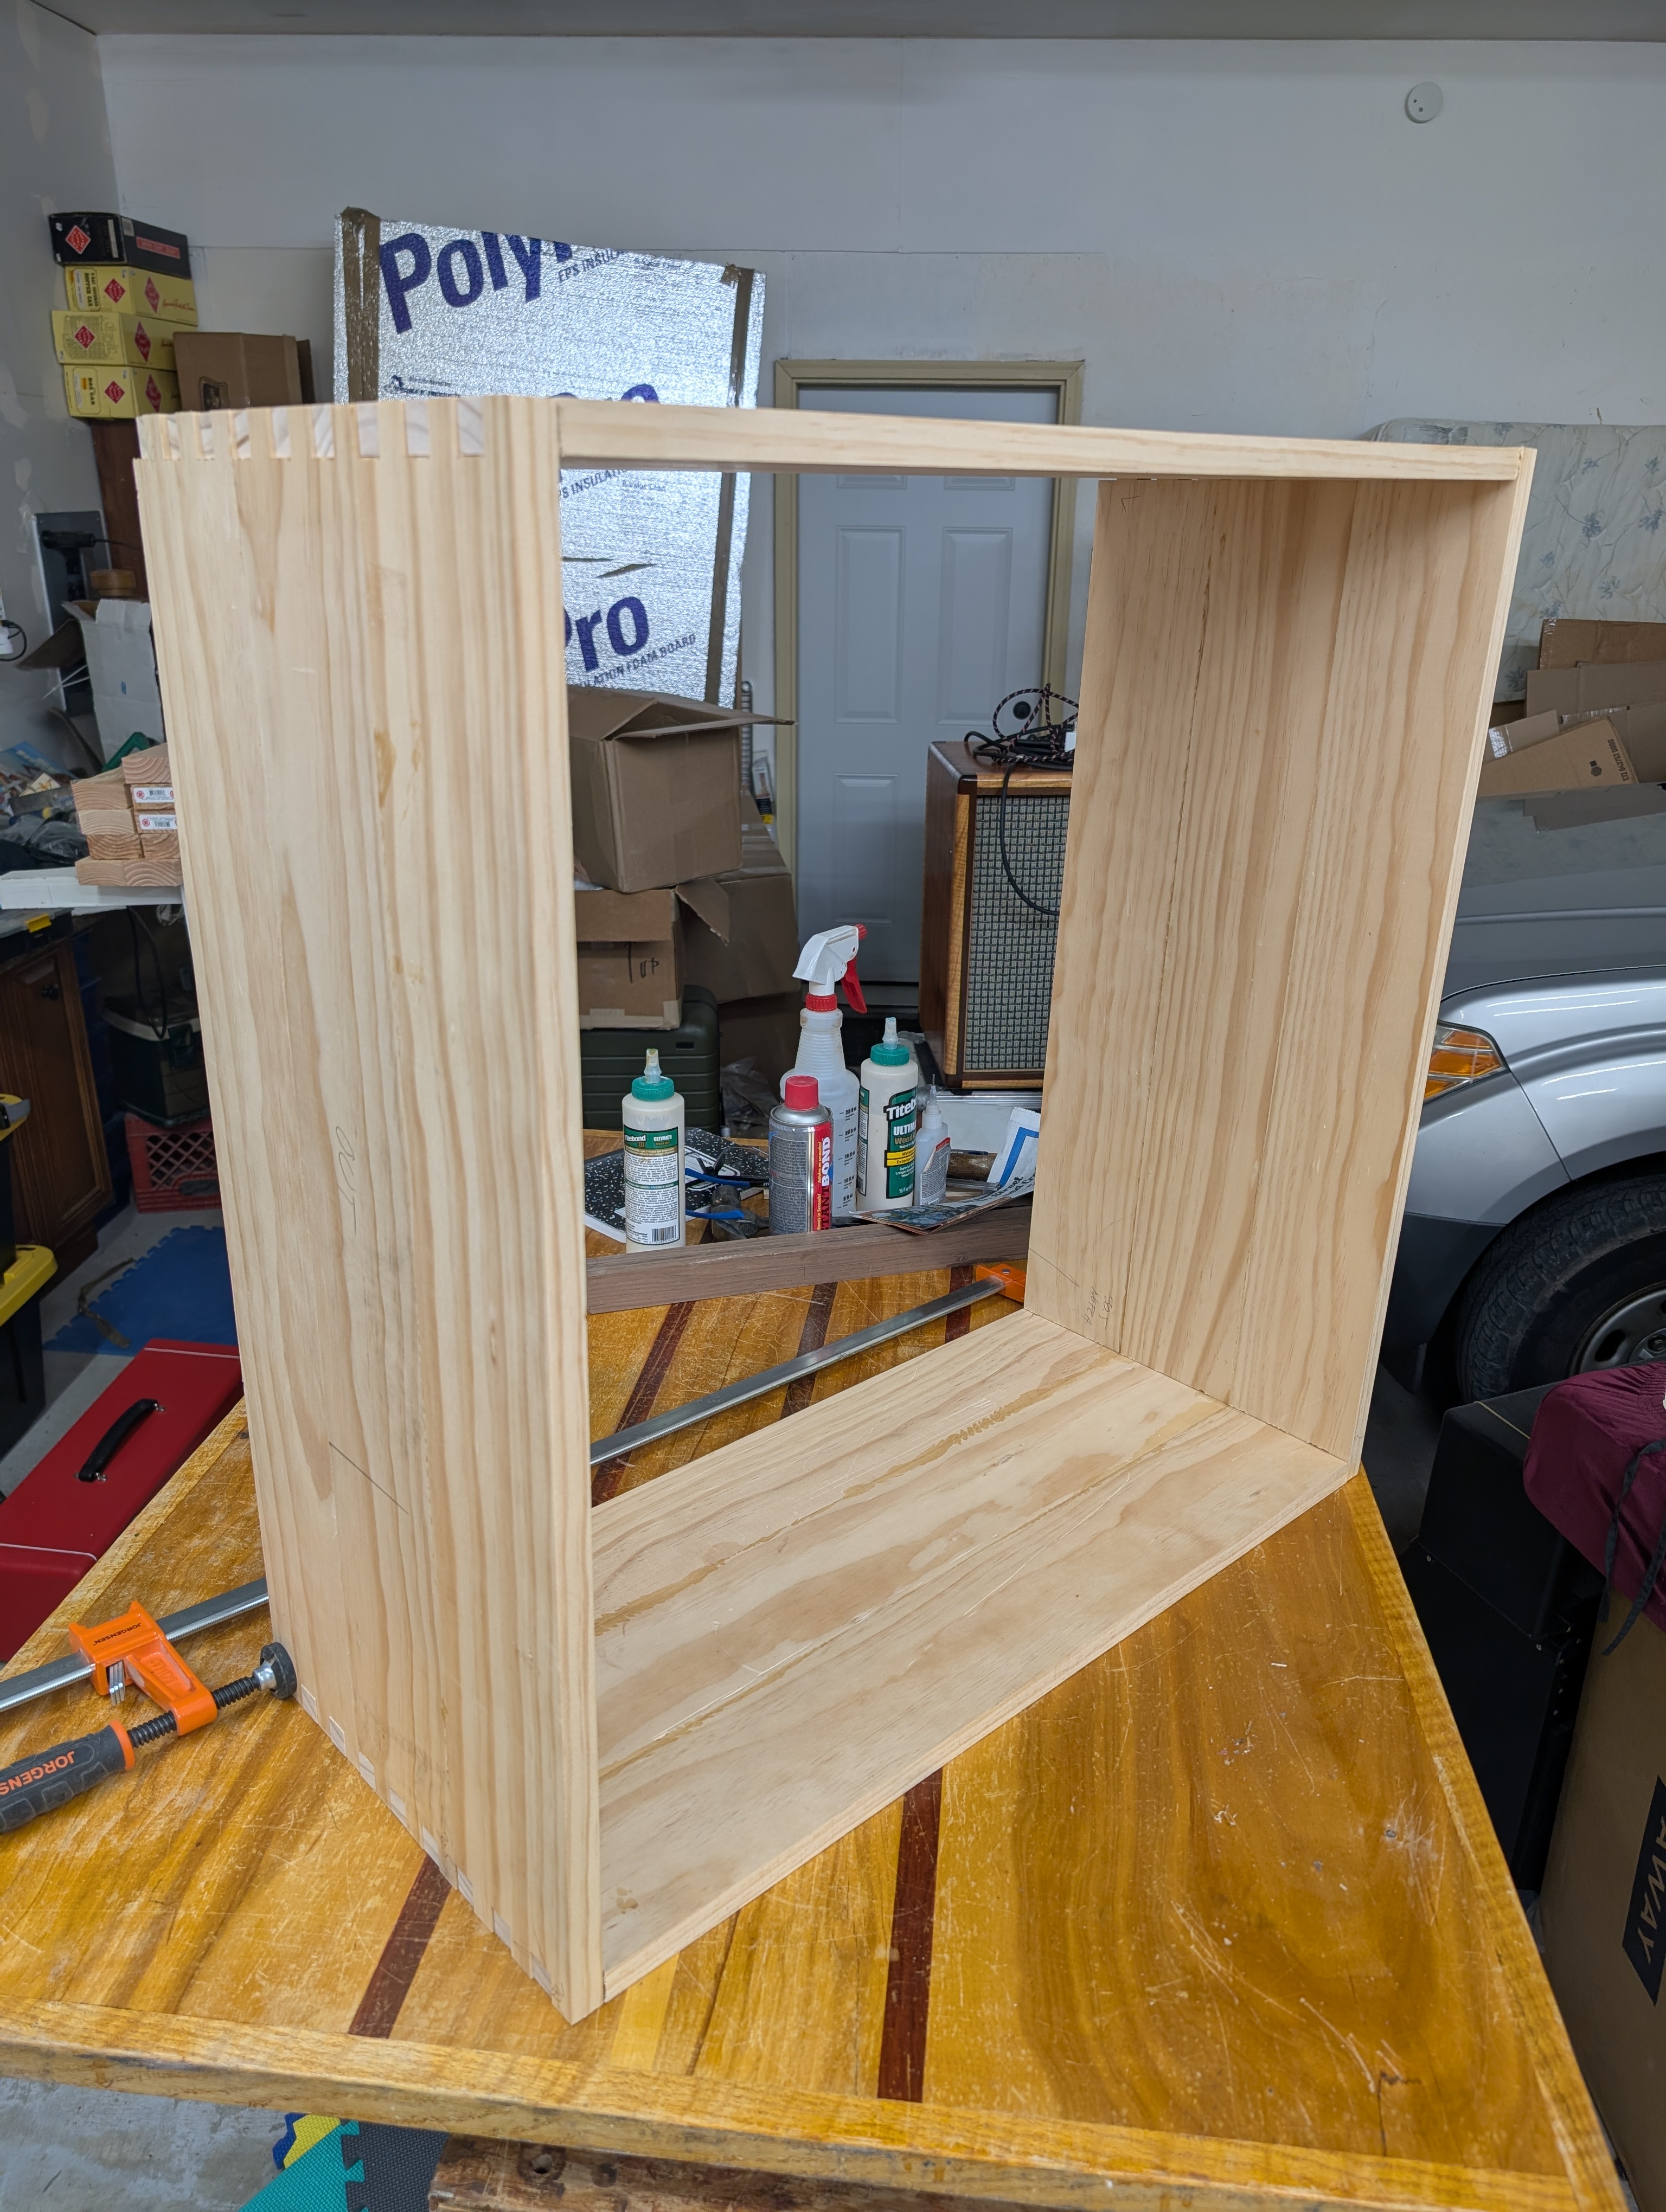
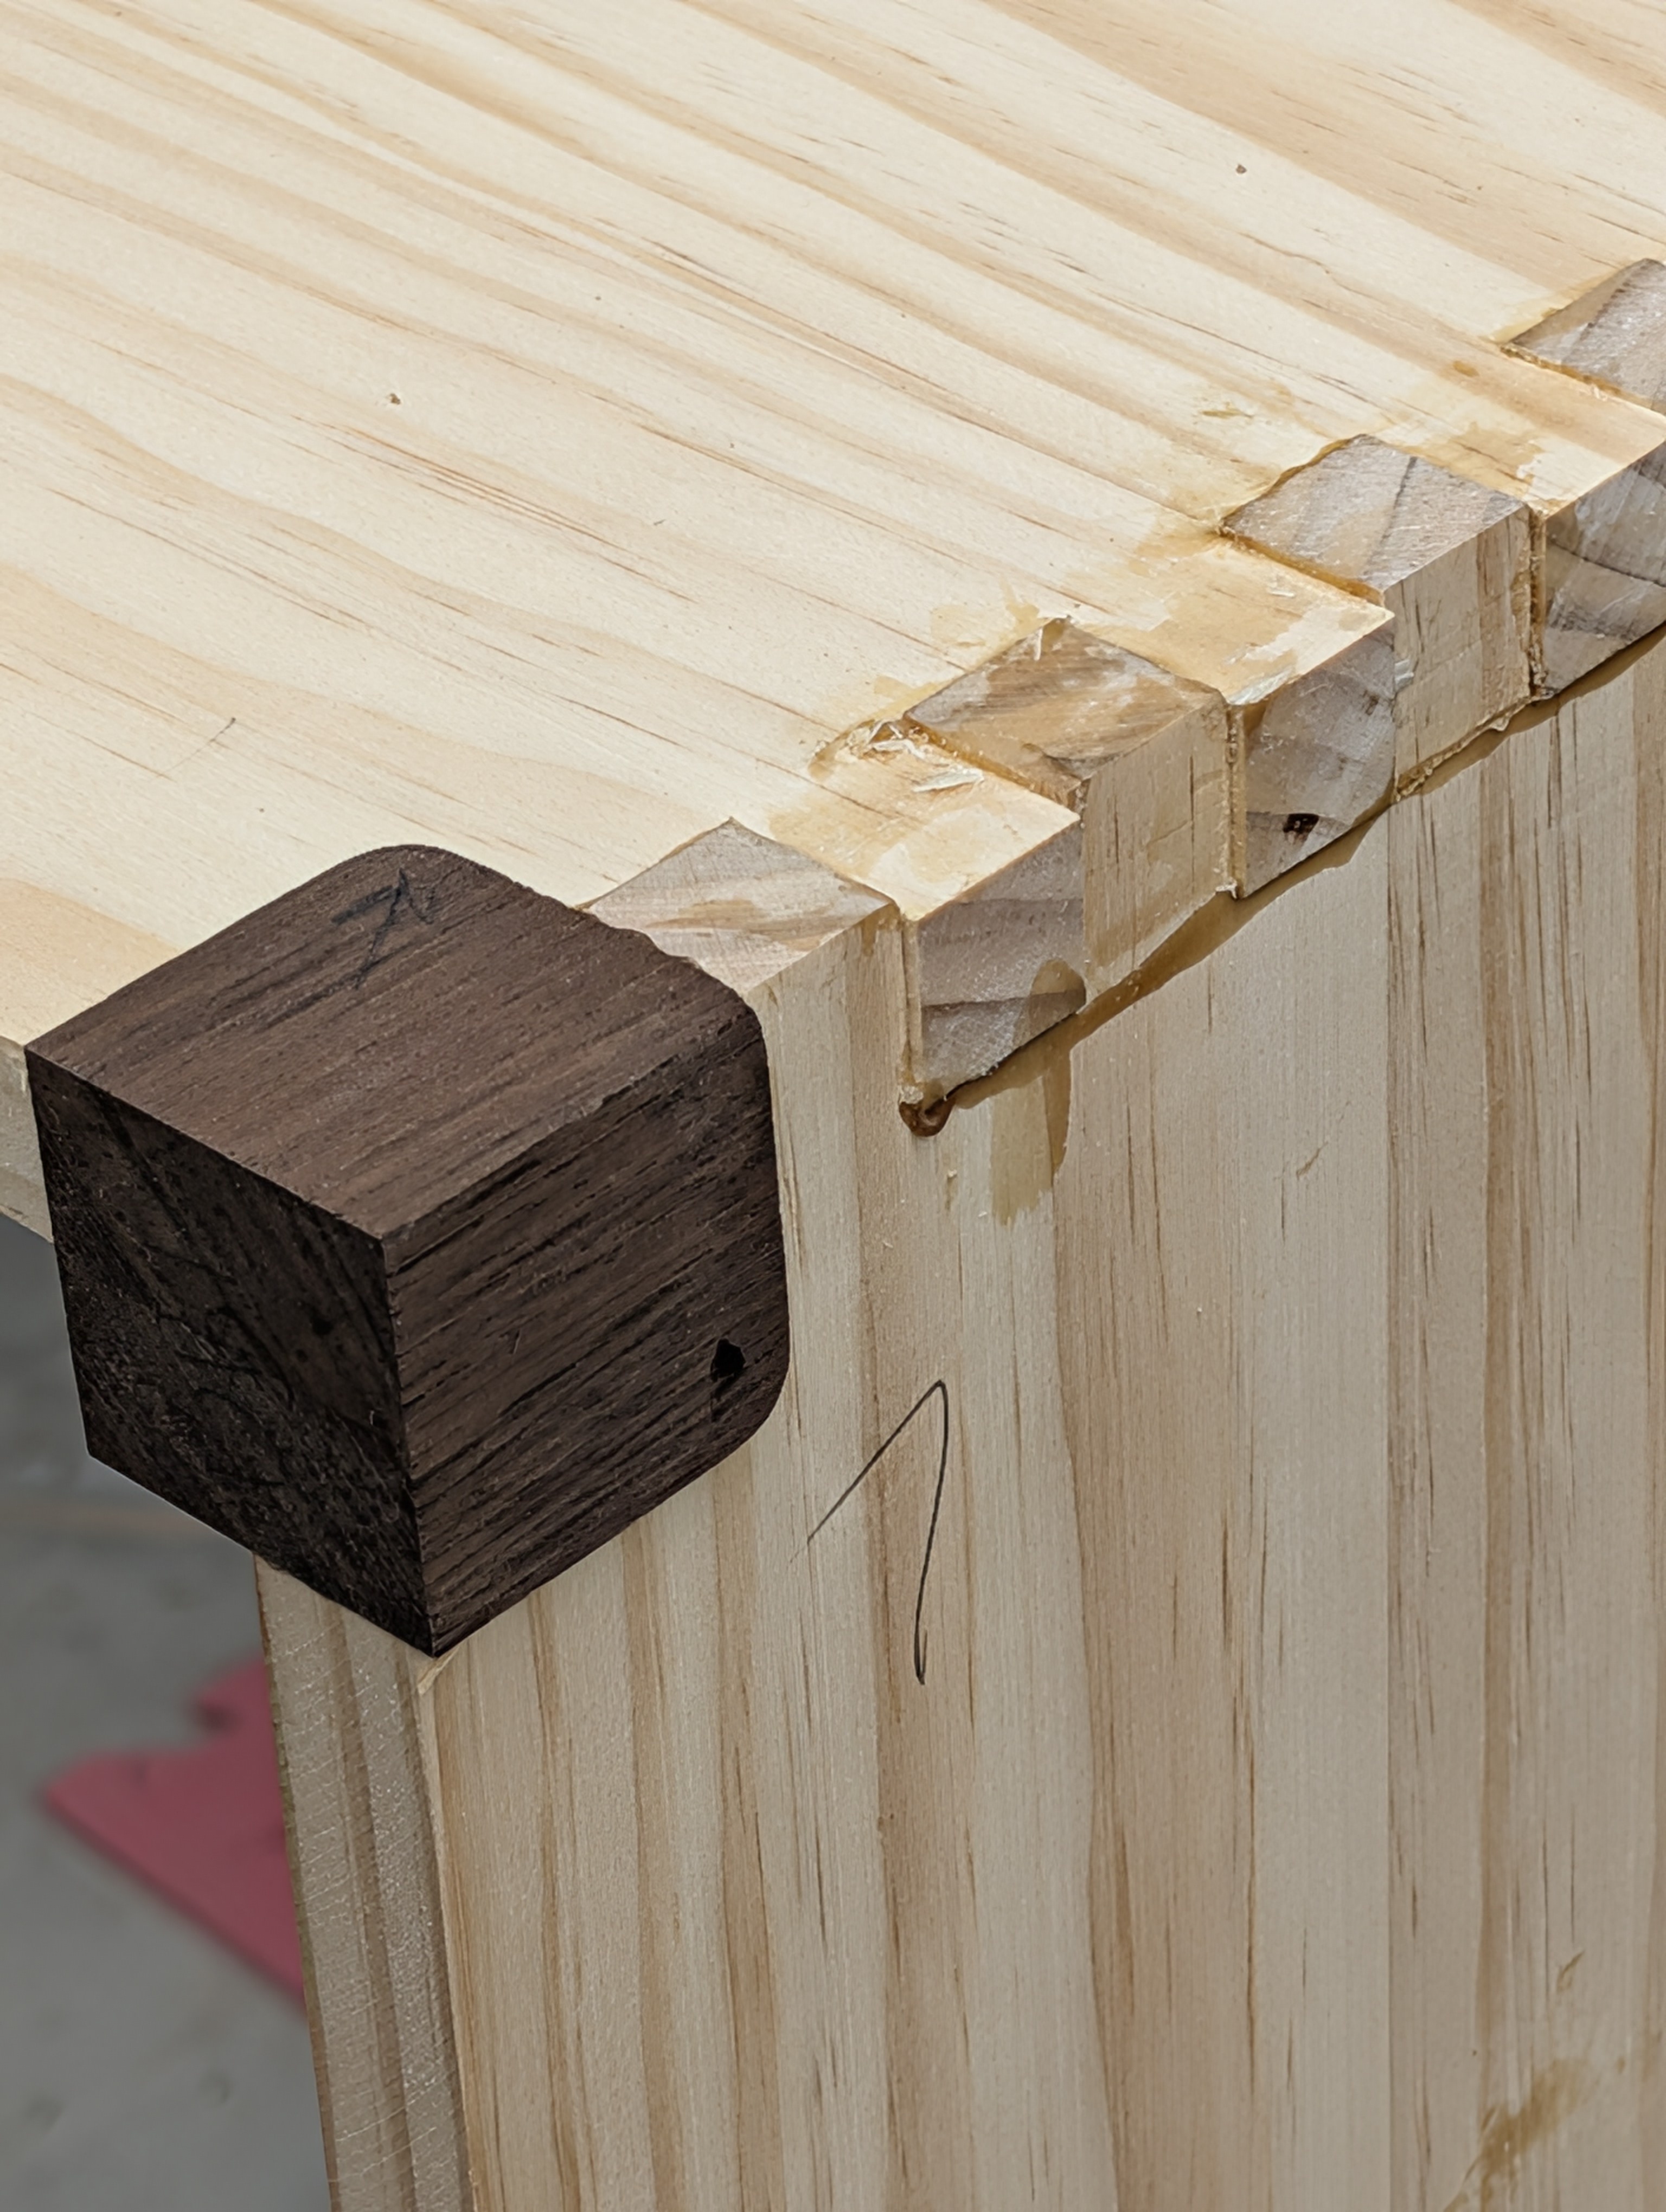
Busy day - wacked down lots of big weeds, sprayed an acre with a one gallon hand sprayer, moved stuff around for the hail storm [it wasn't supposed to rain today] and got to finger joint the sides. All 72 of them. Also posted a reel about said finger joints to insta that they decided to turn 90°. Mumble...

Qo10vfO.jpg


FusKNZ5.jpg


For those who have put up with me you know I am physically incapable of making plain looking wood projects. This one is no exception.

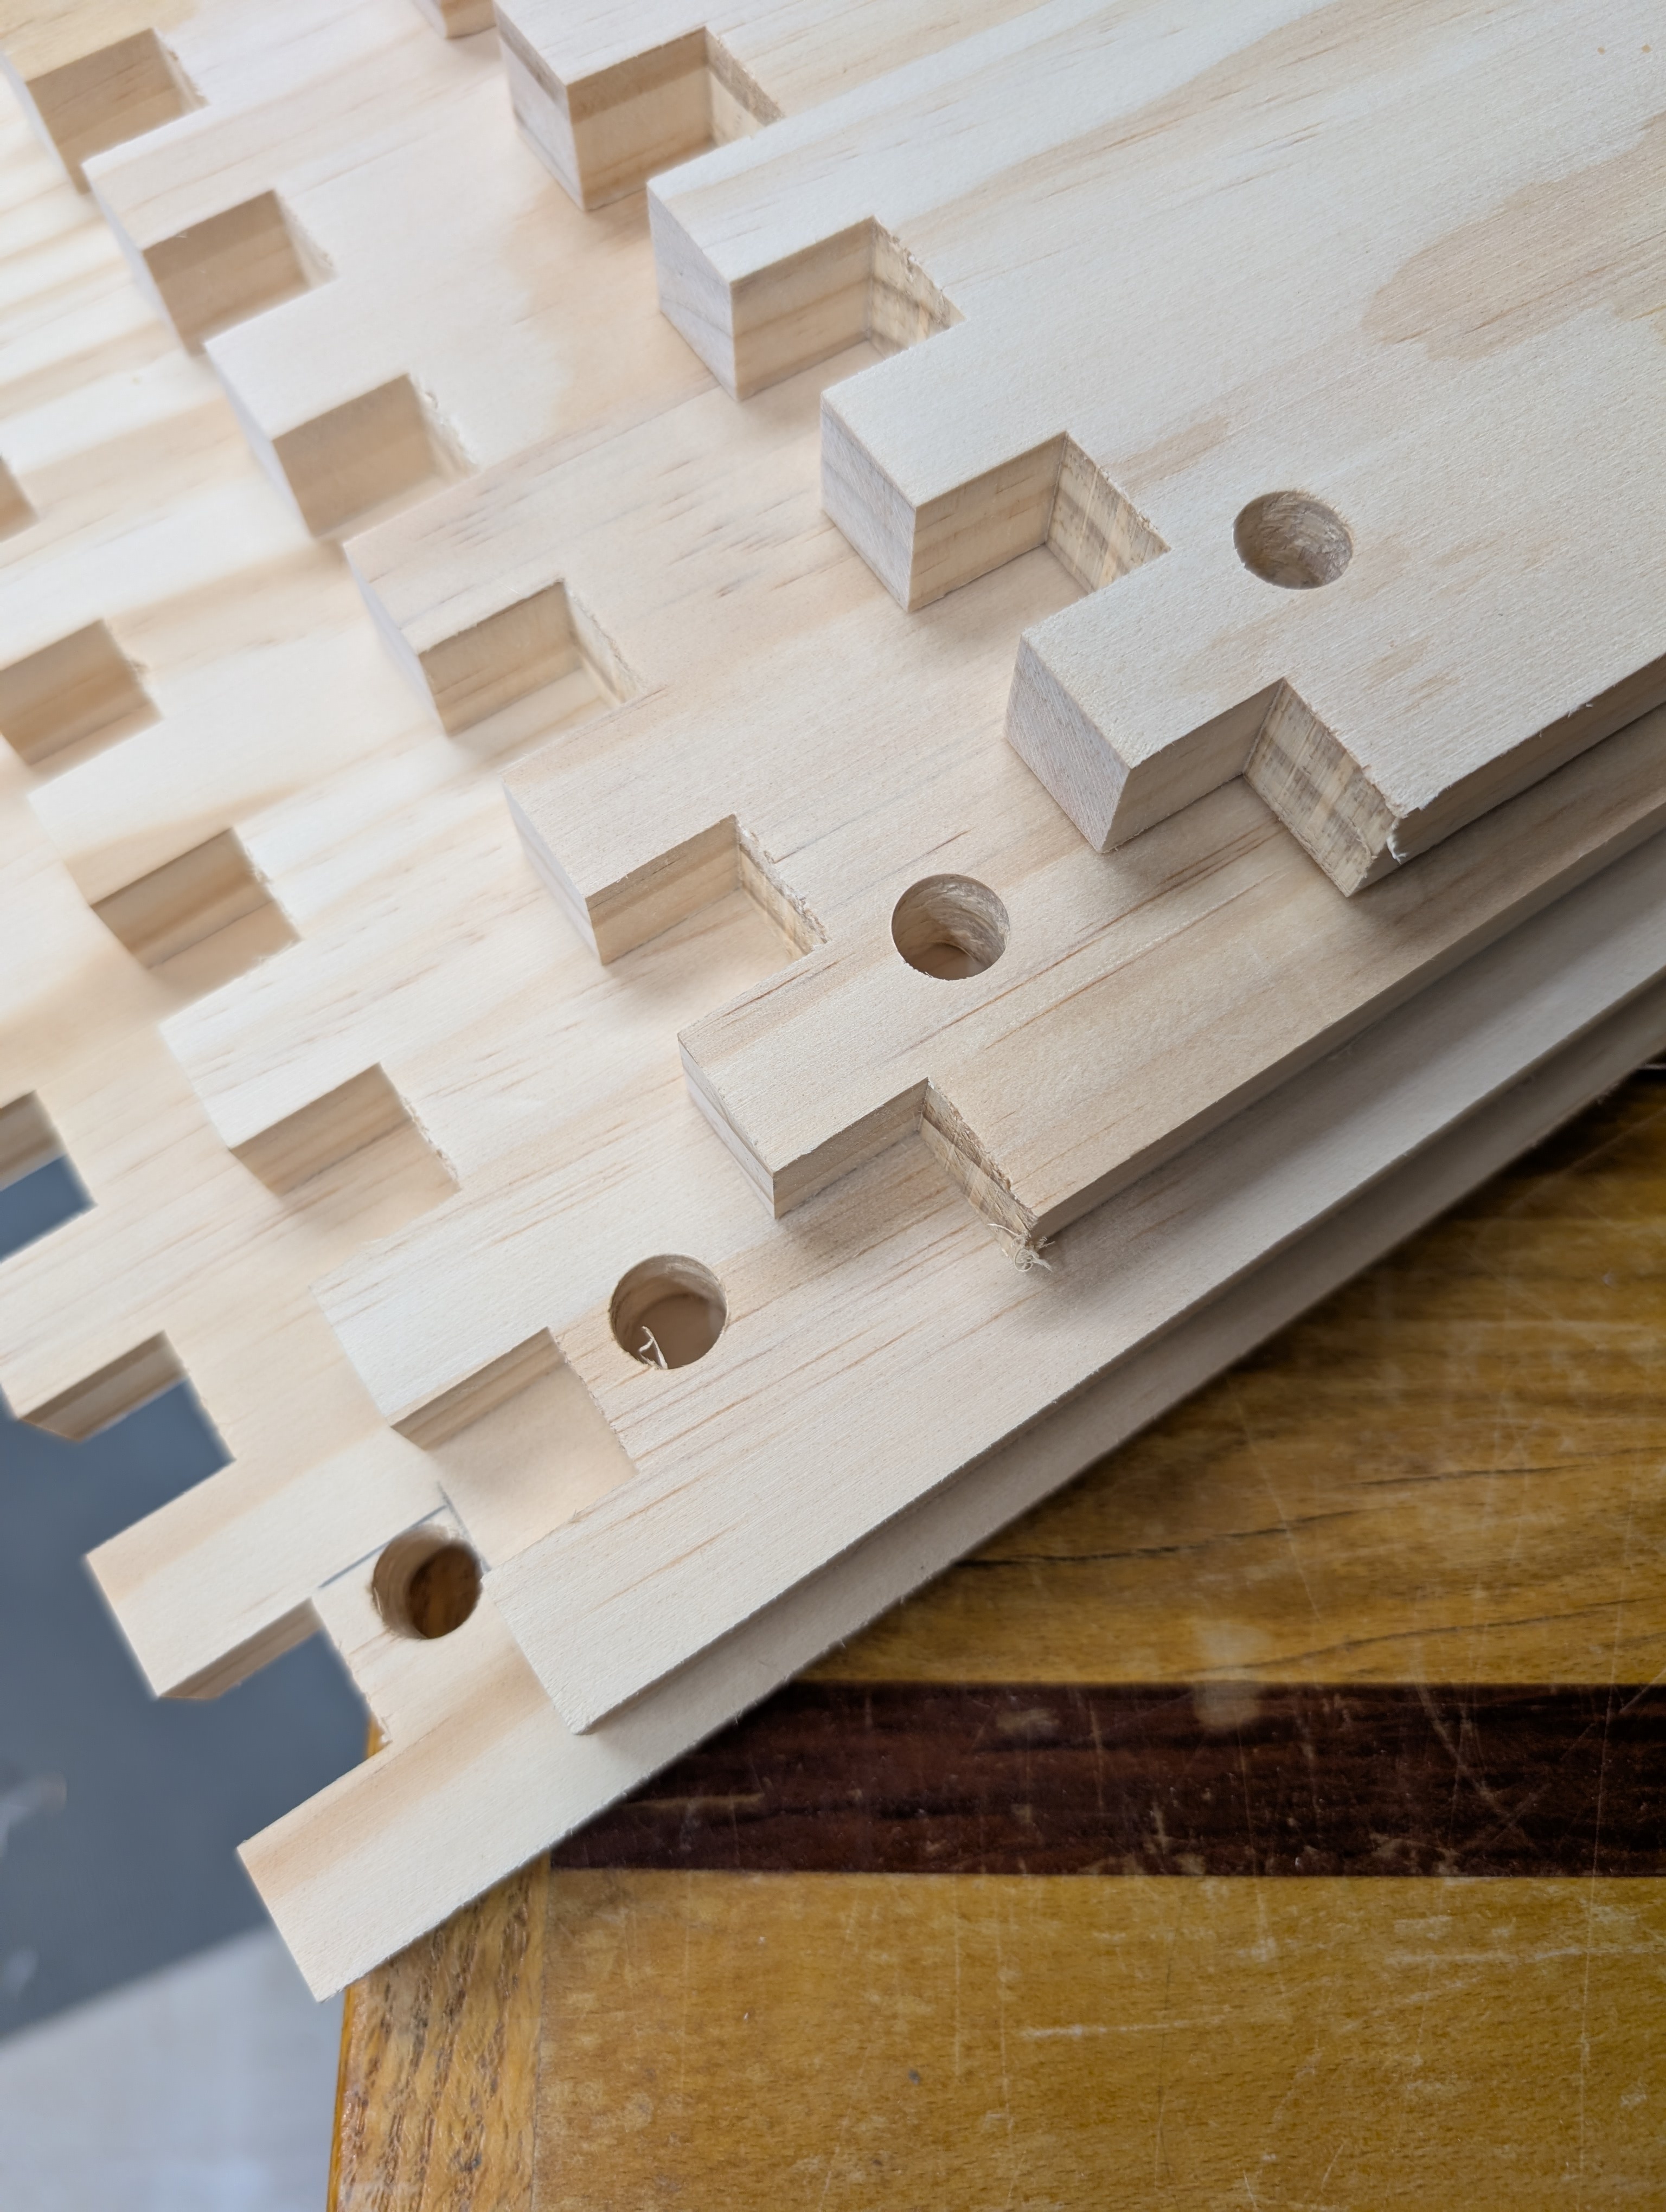
Drilled the corners.

hOkGc9A.jpg


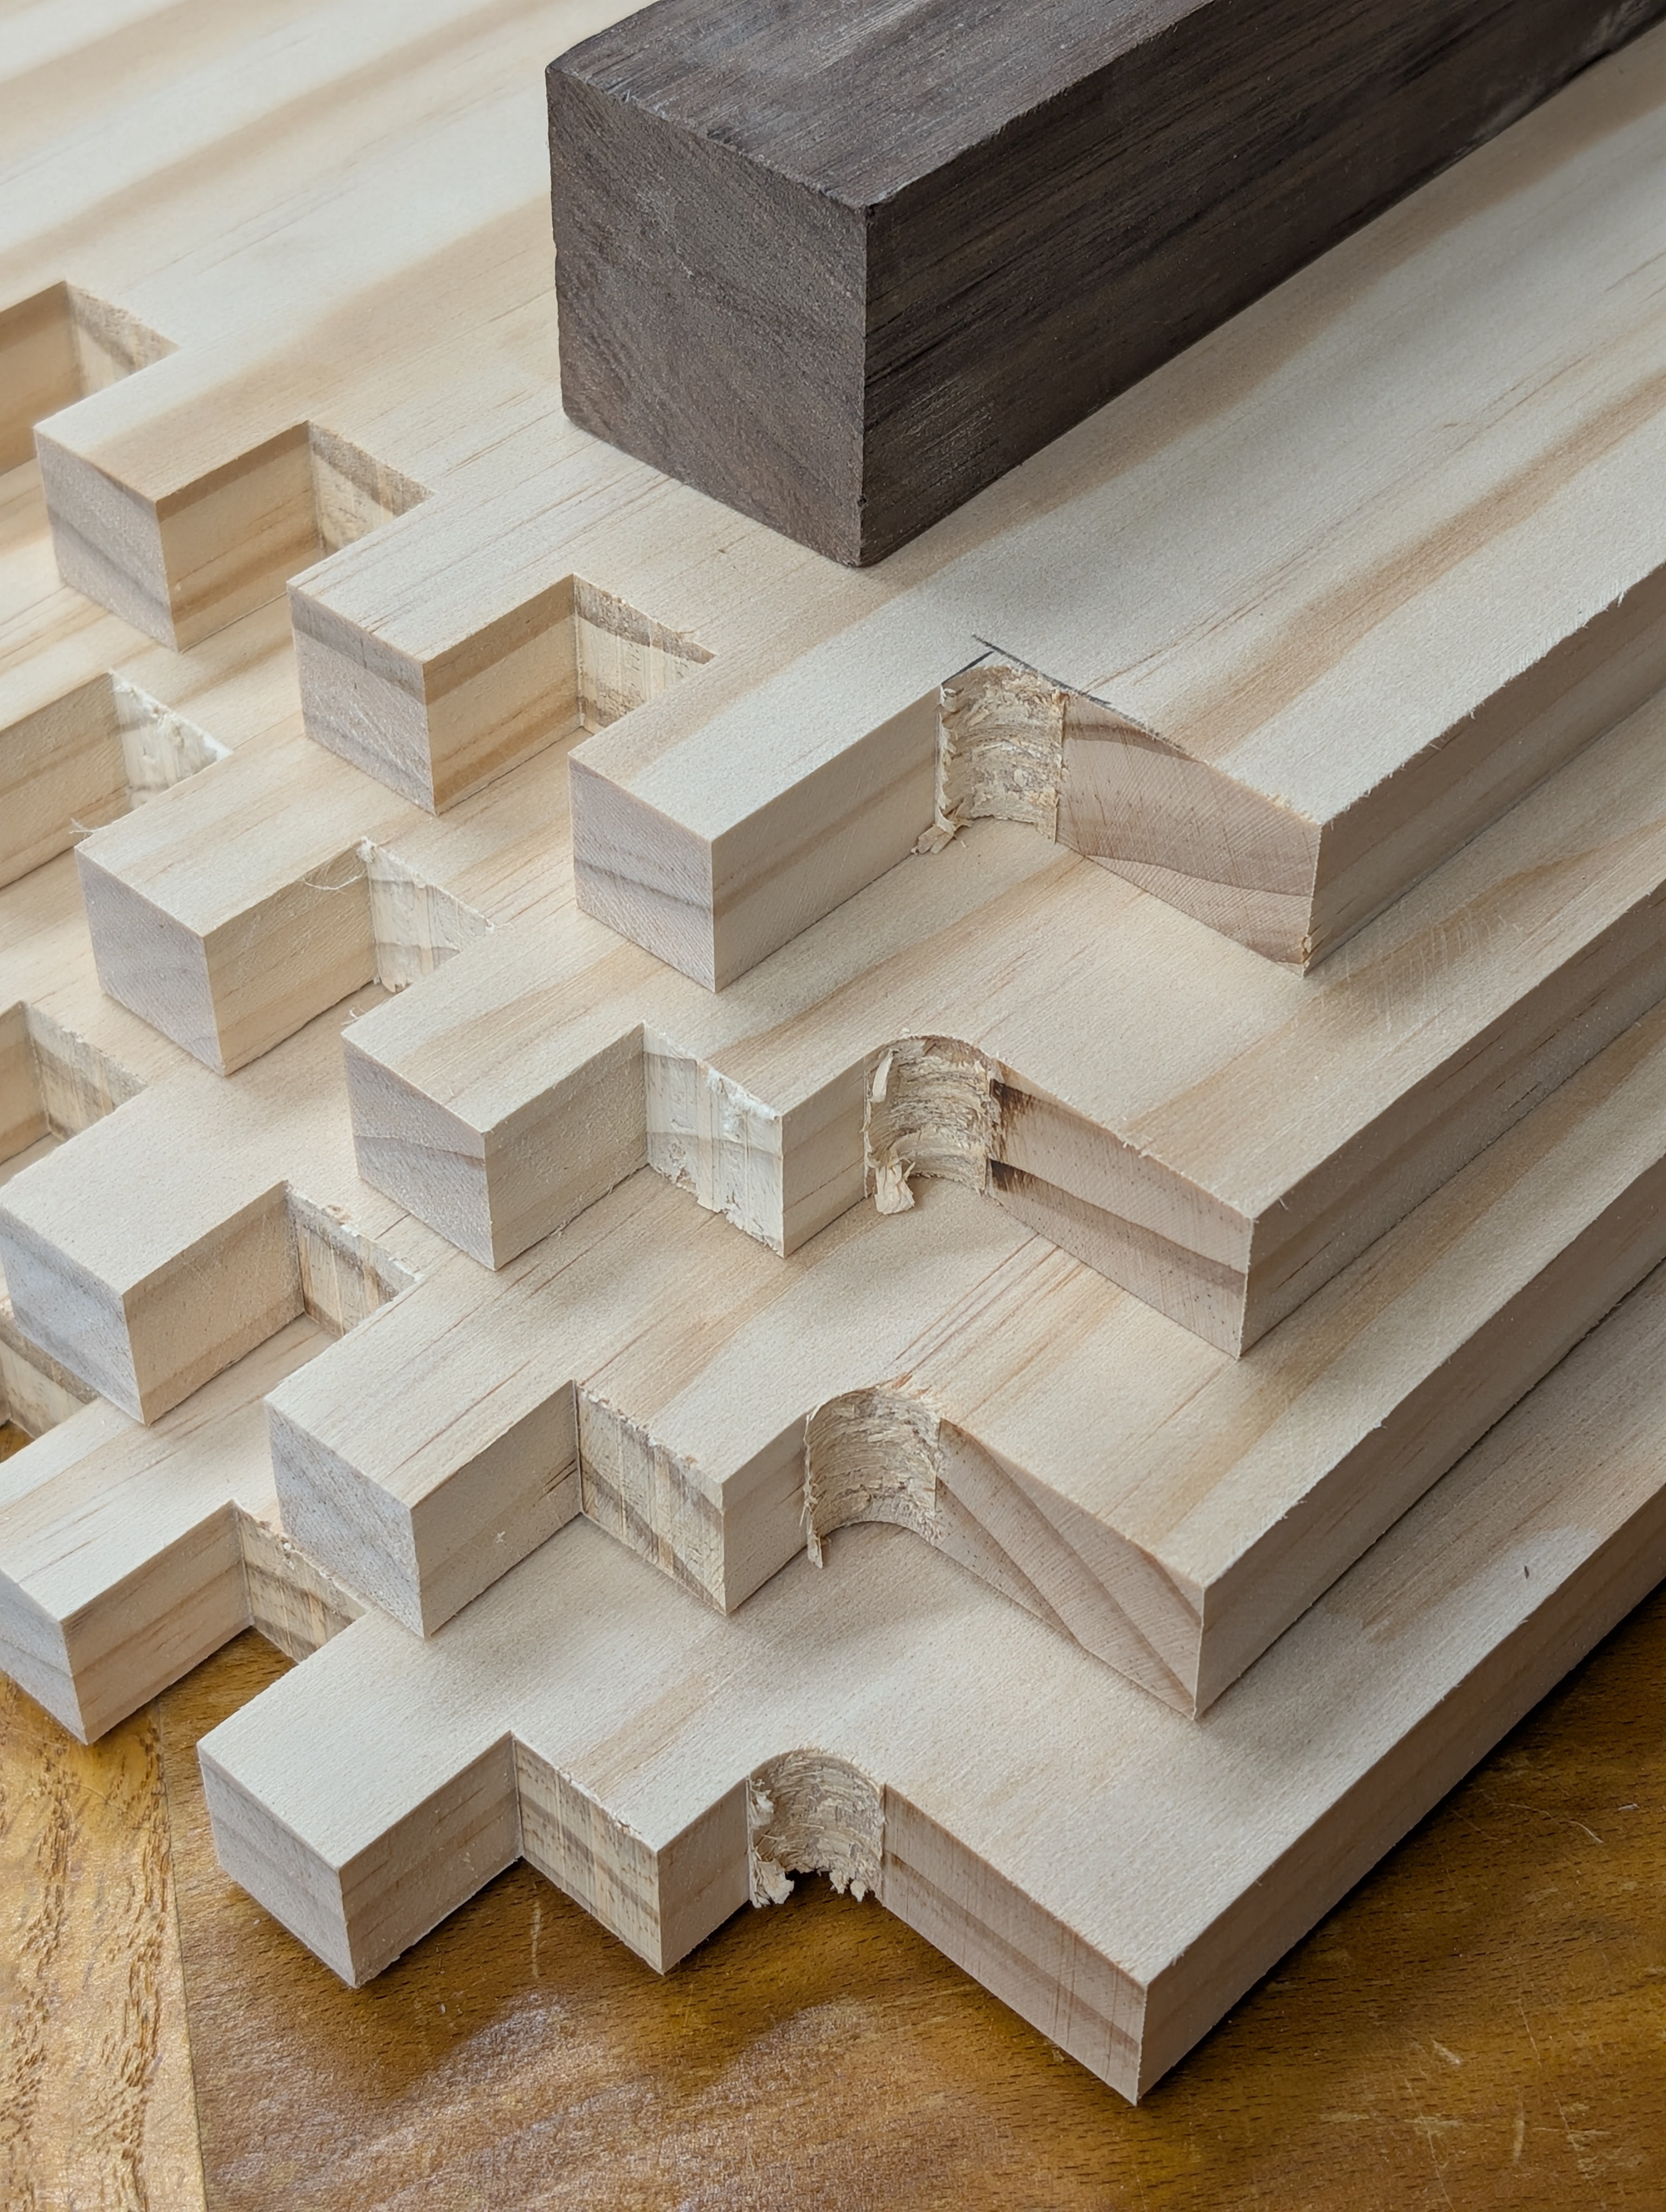
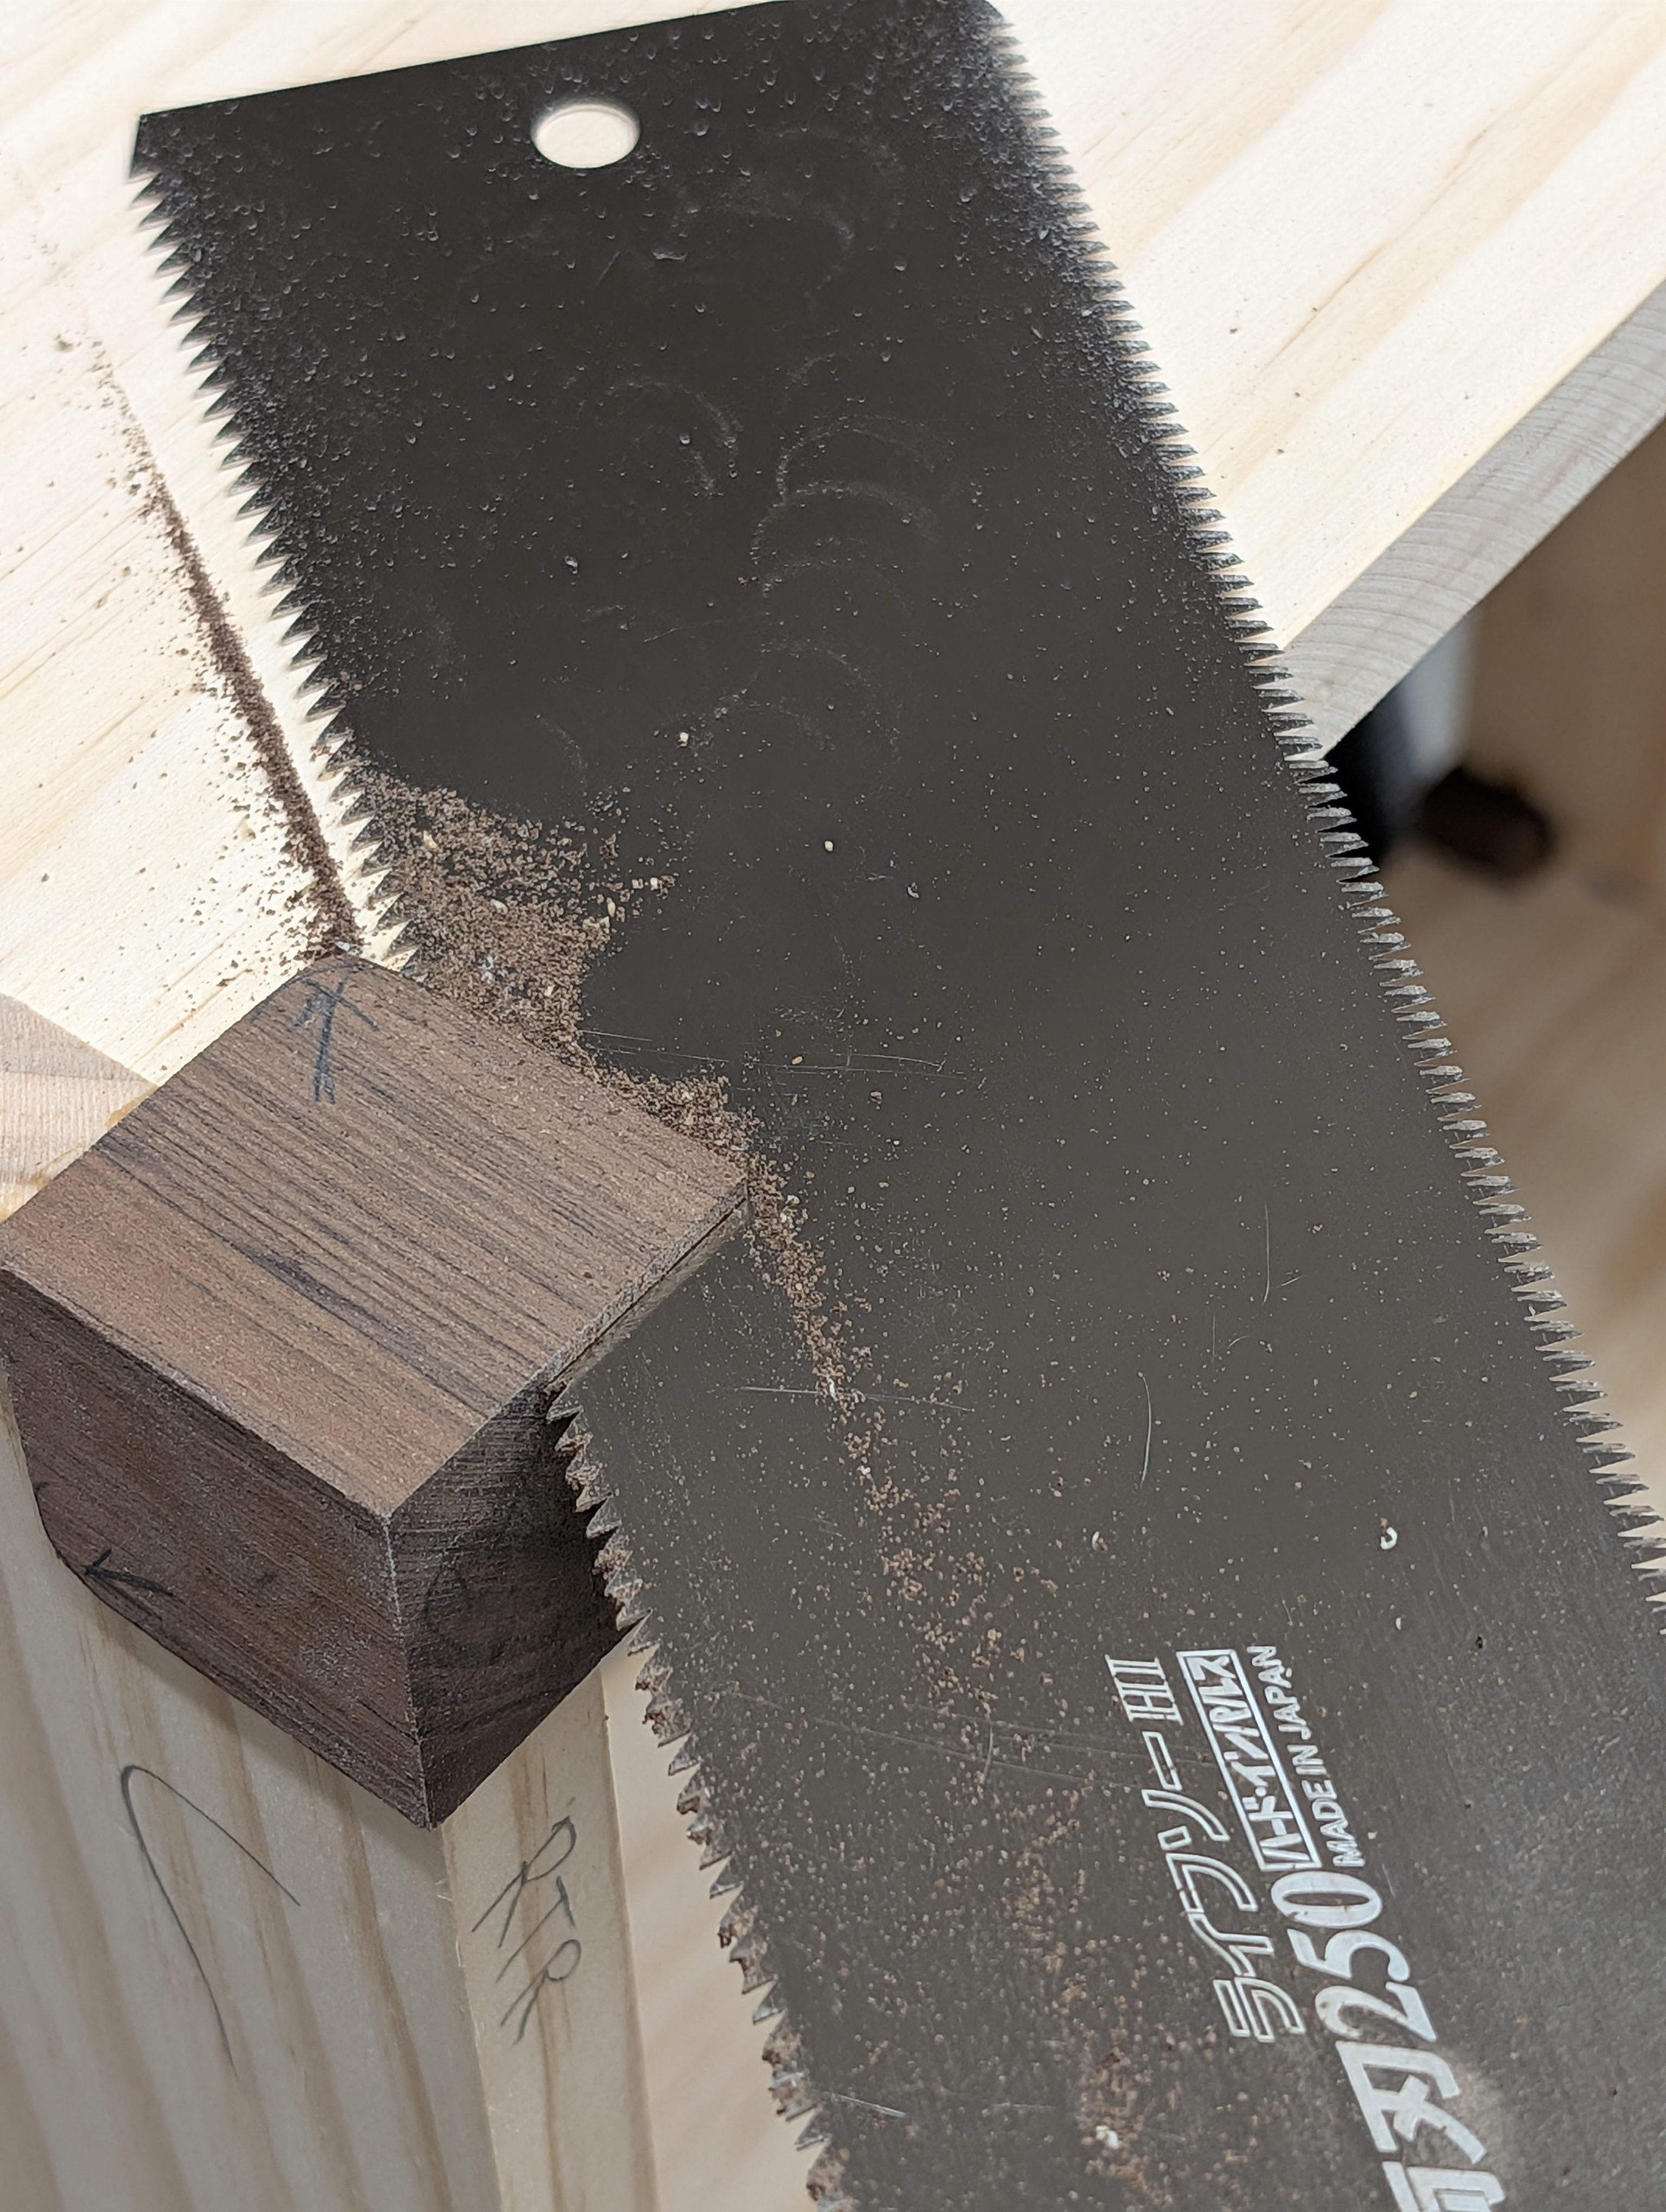
Cut the corners.

7eOXg7w.jpg


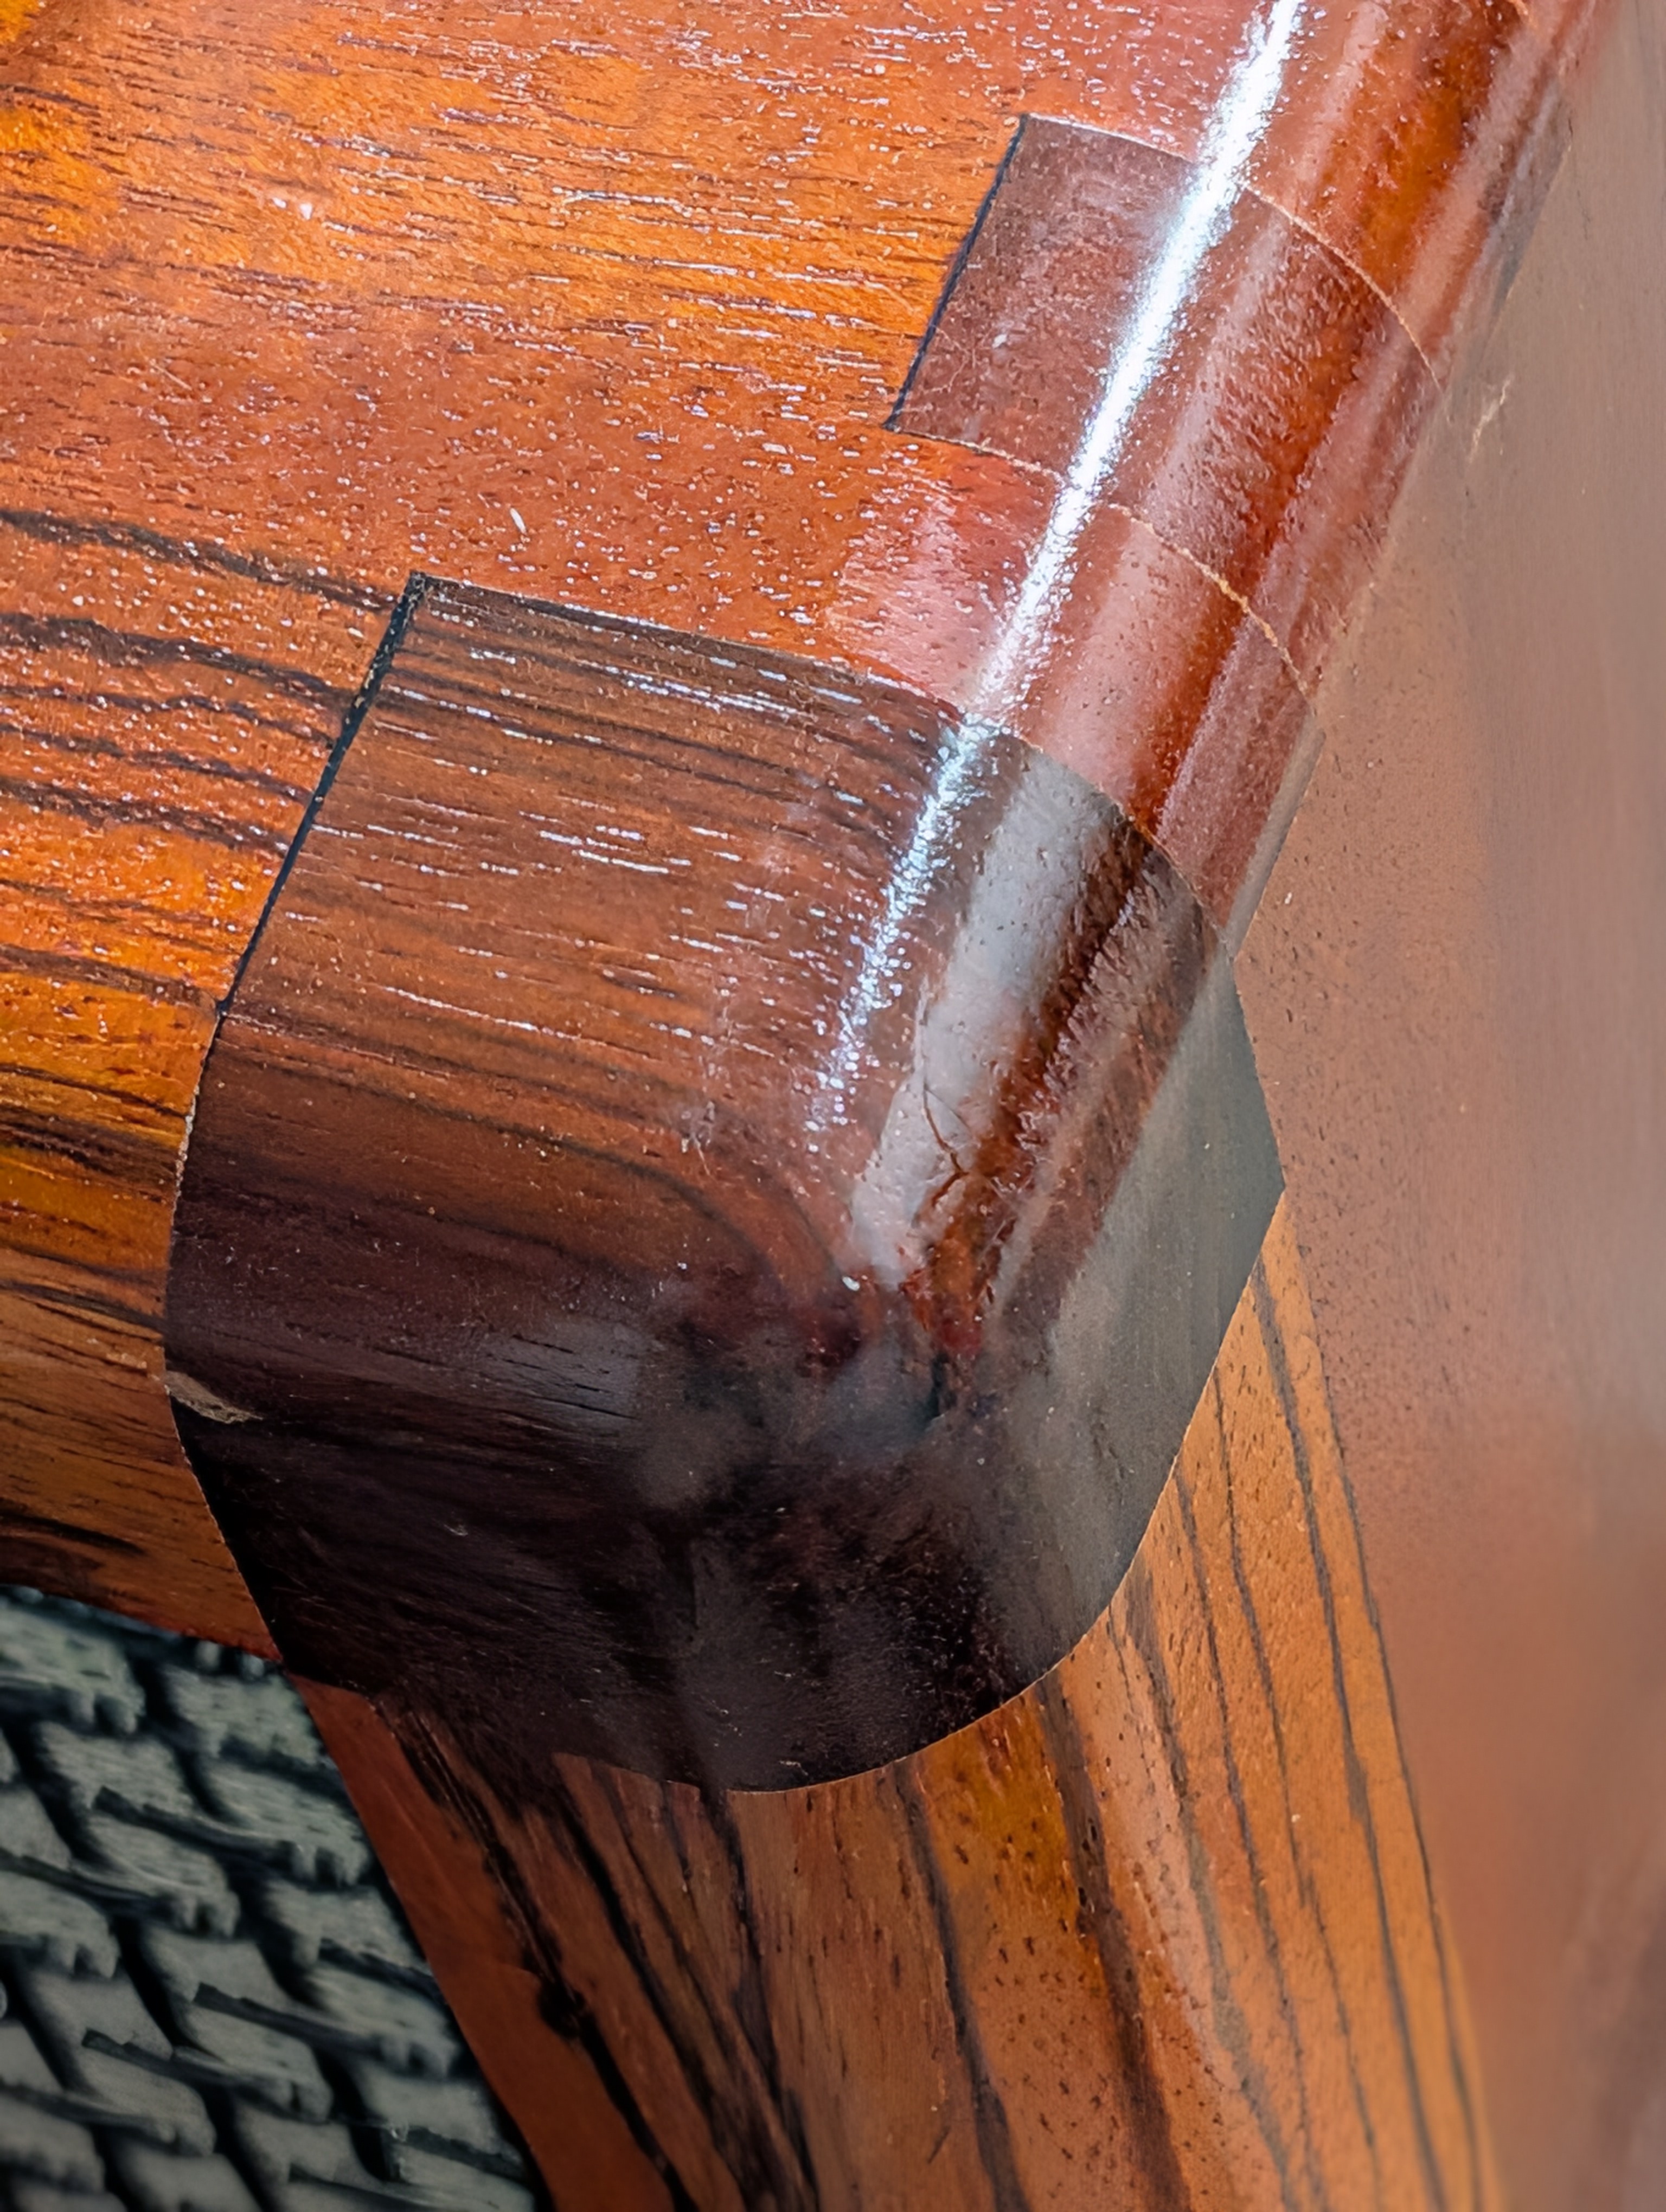
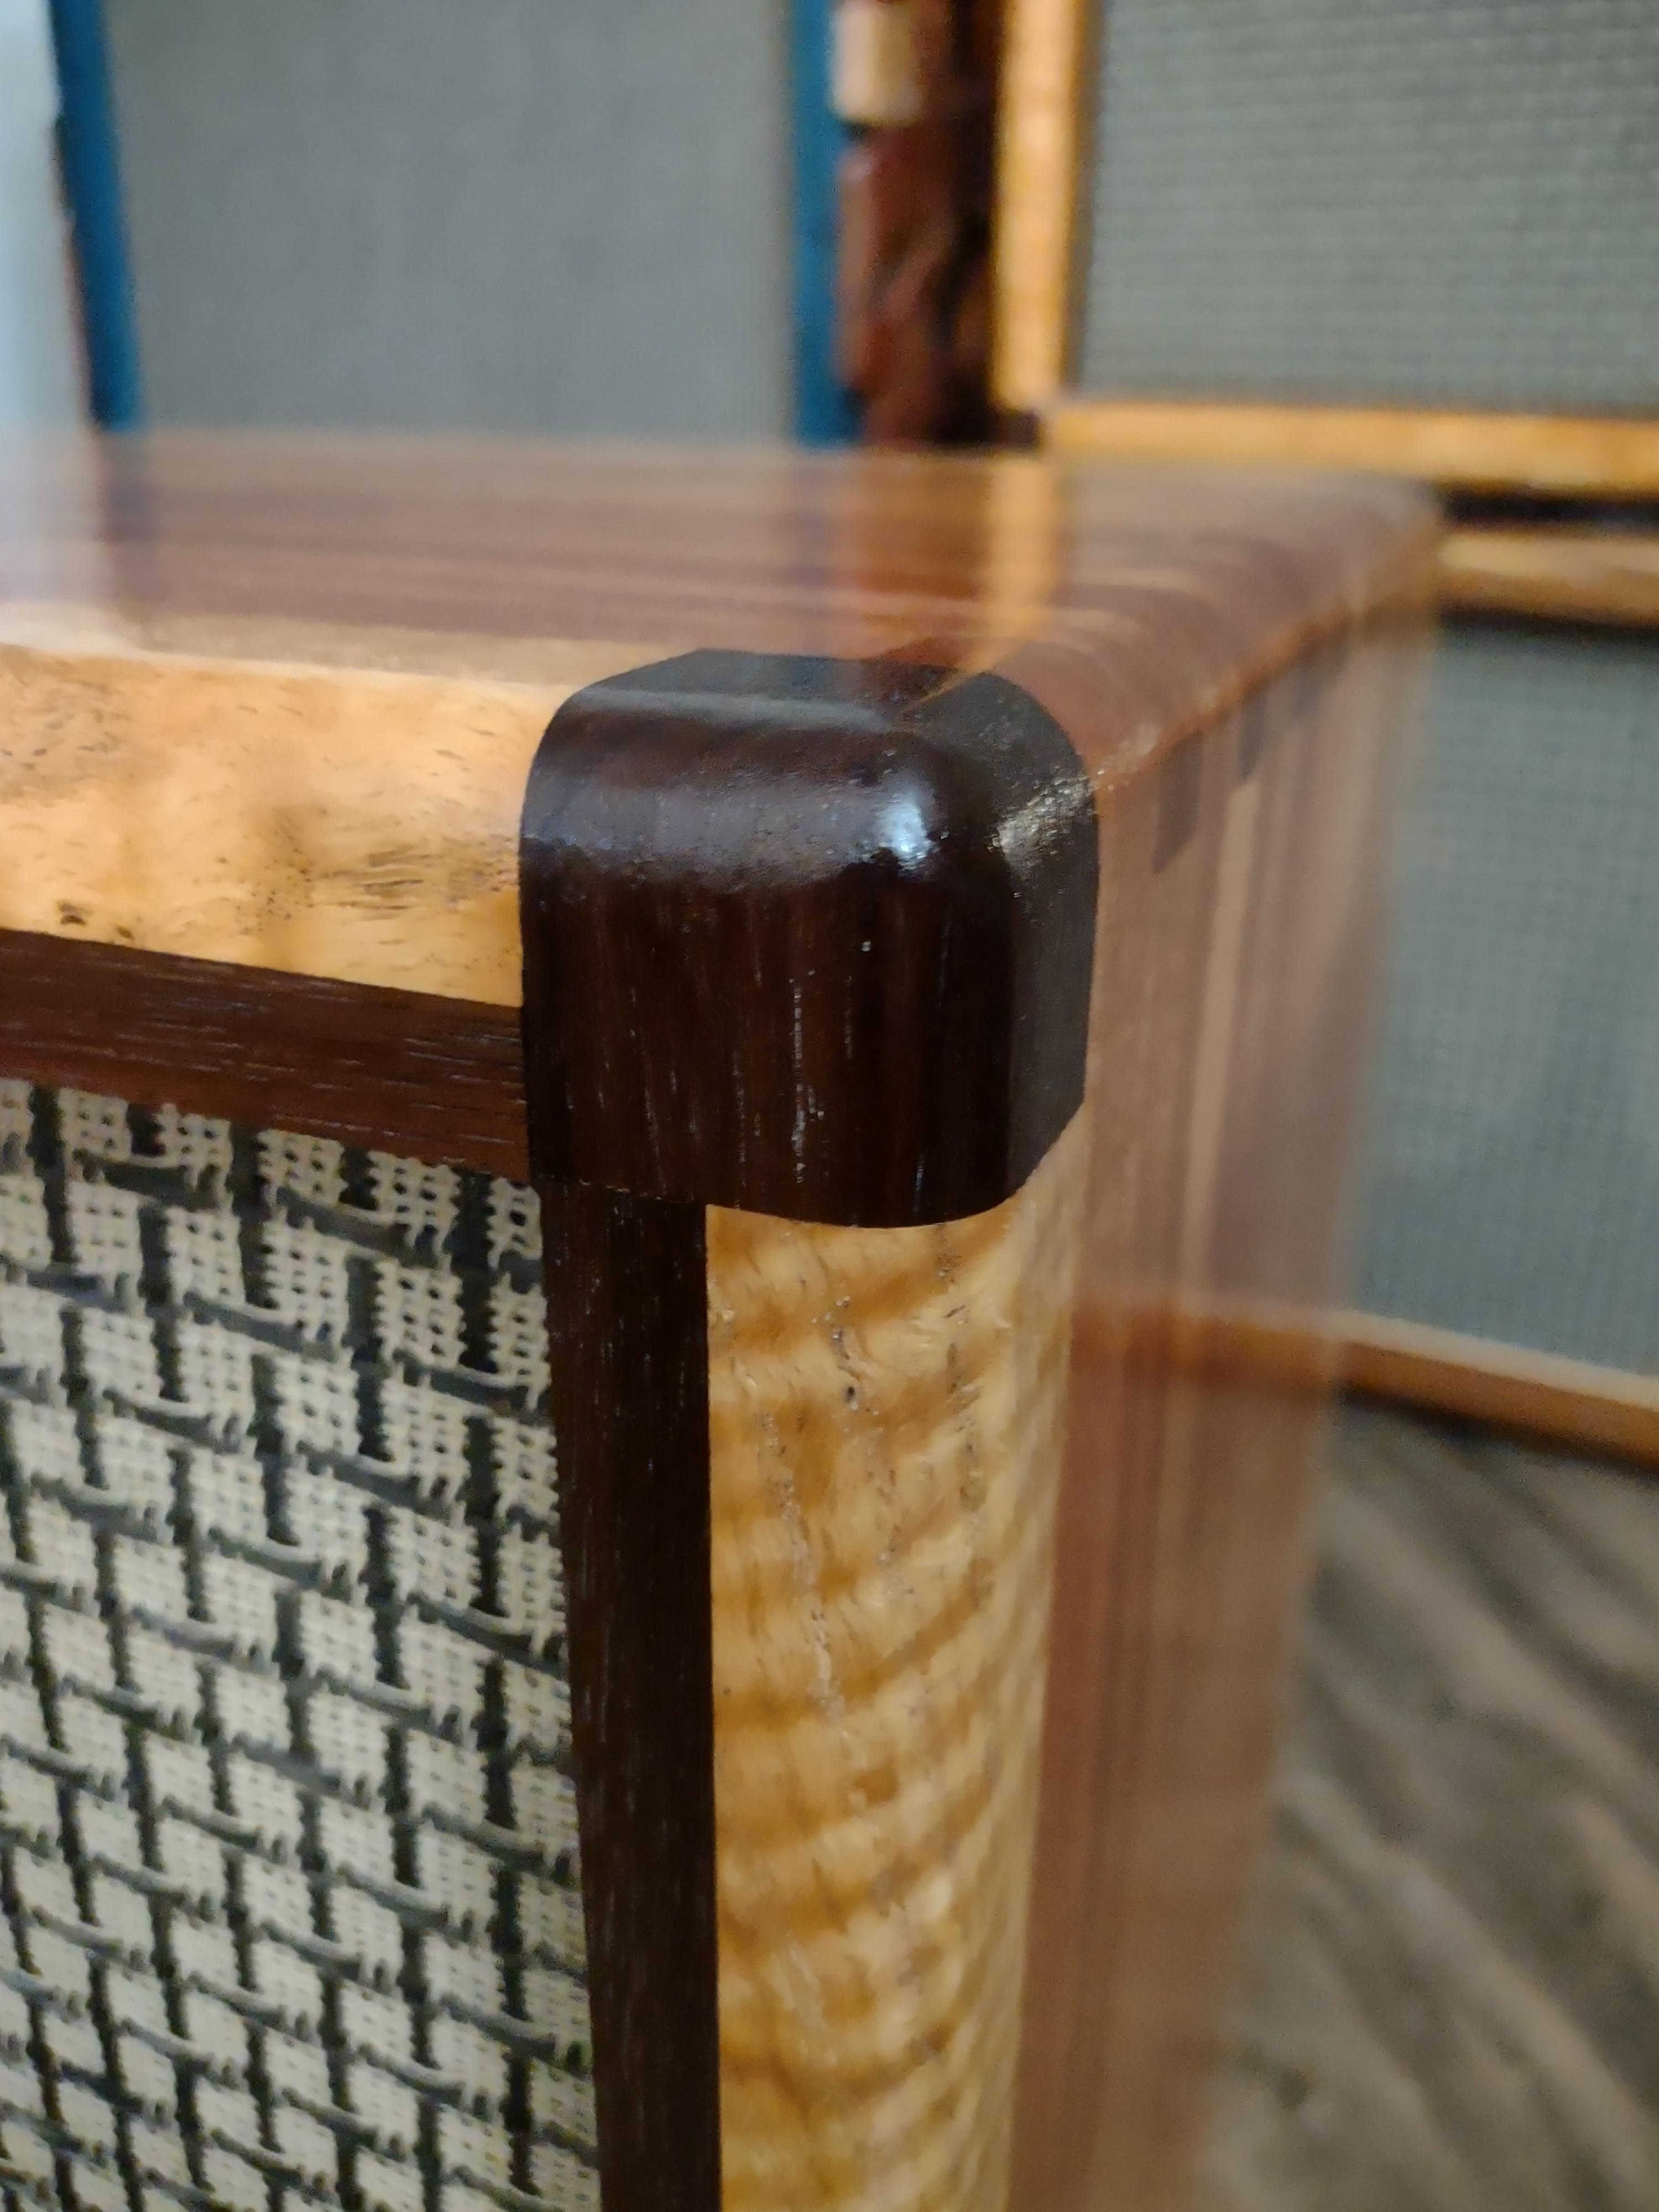
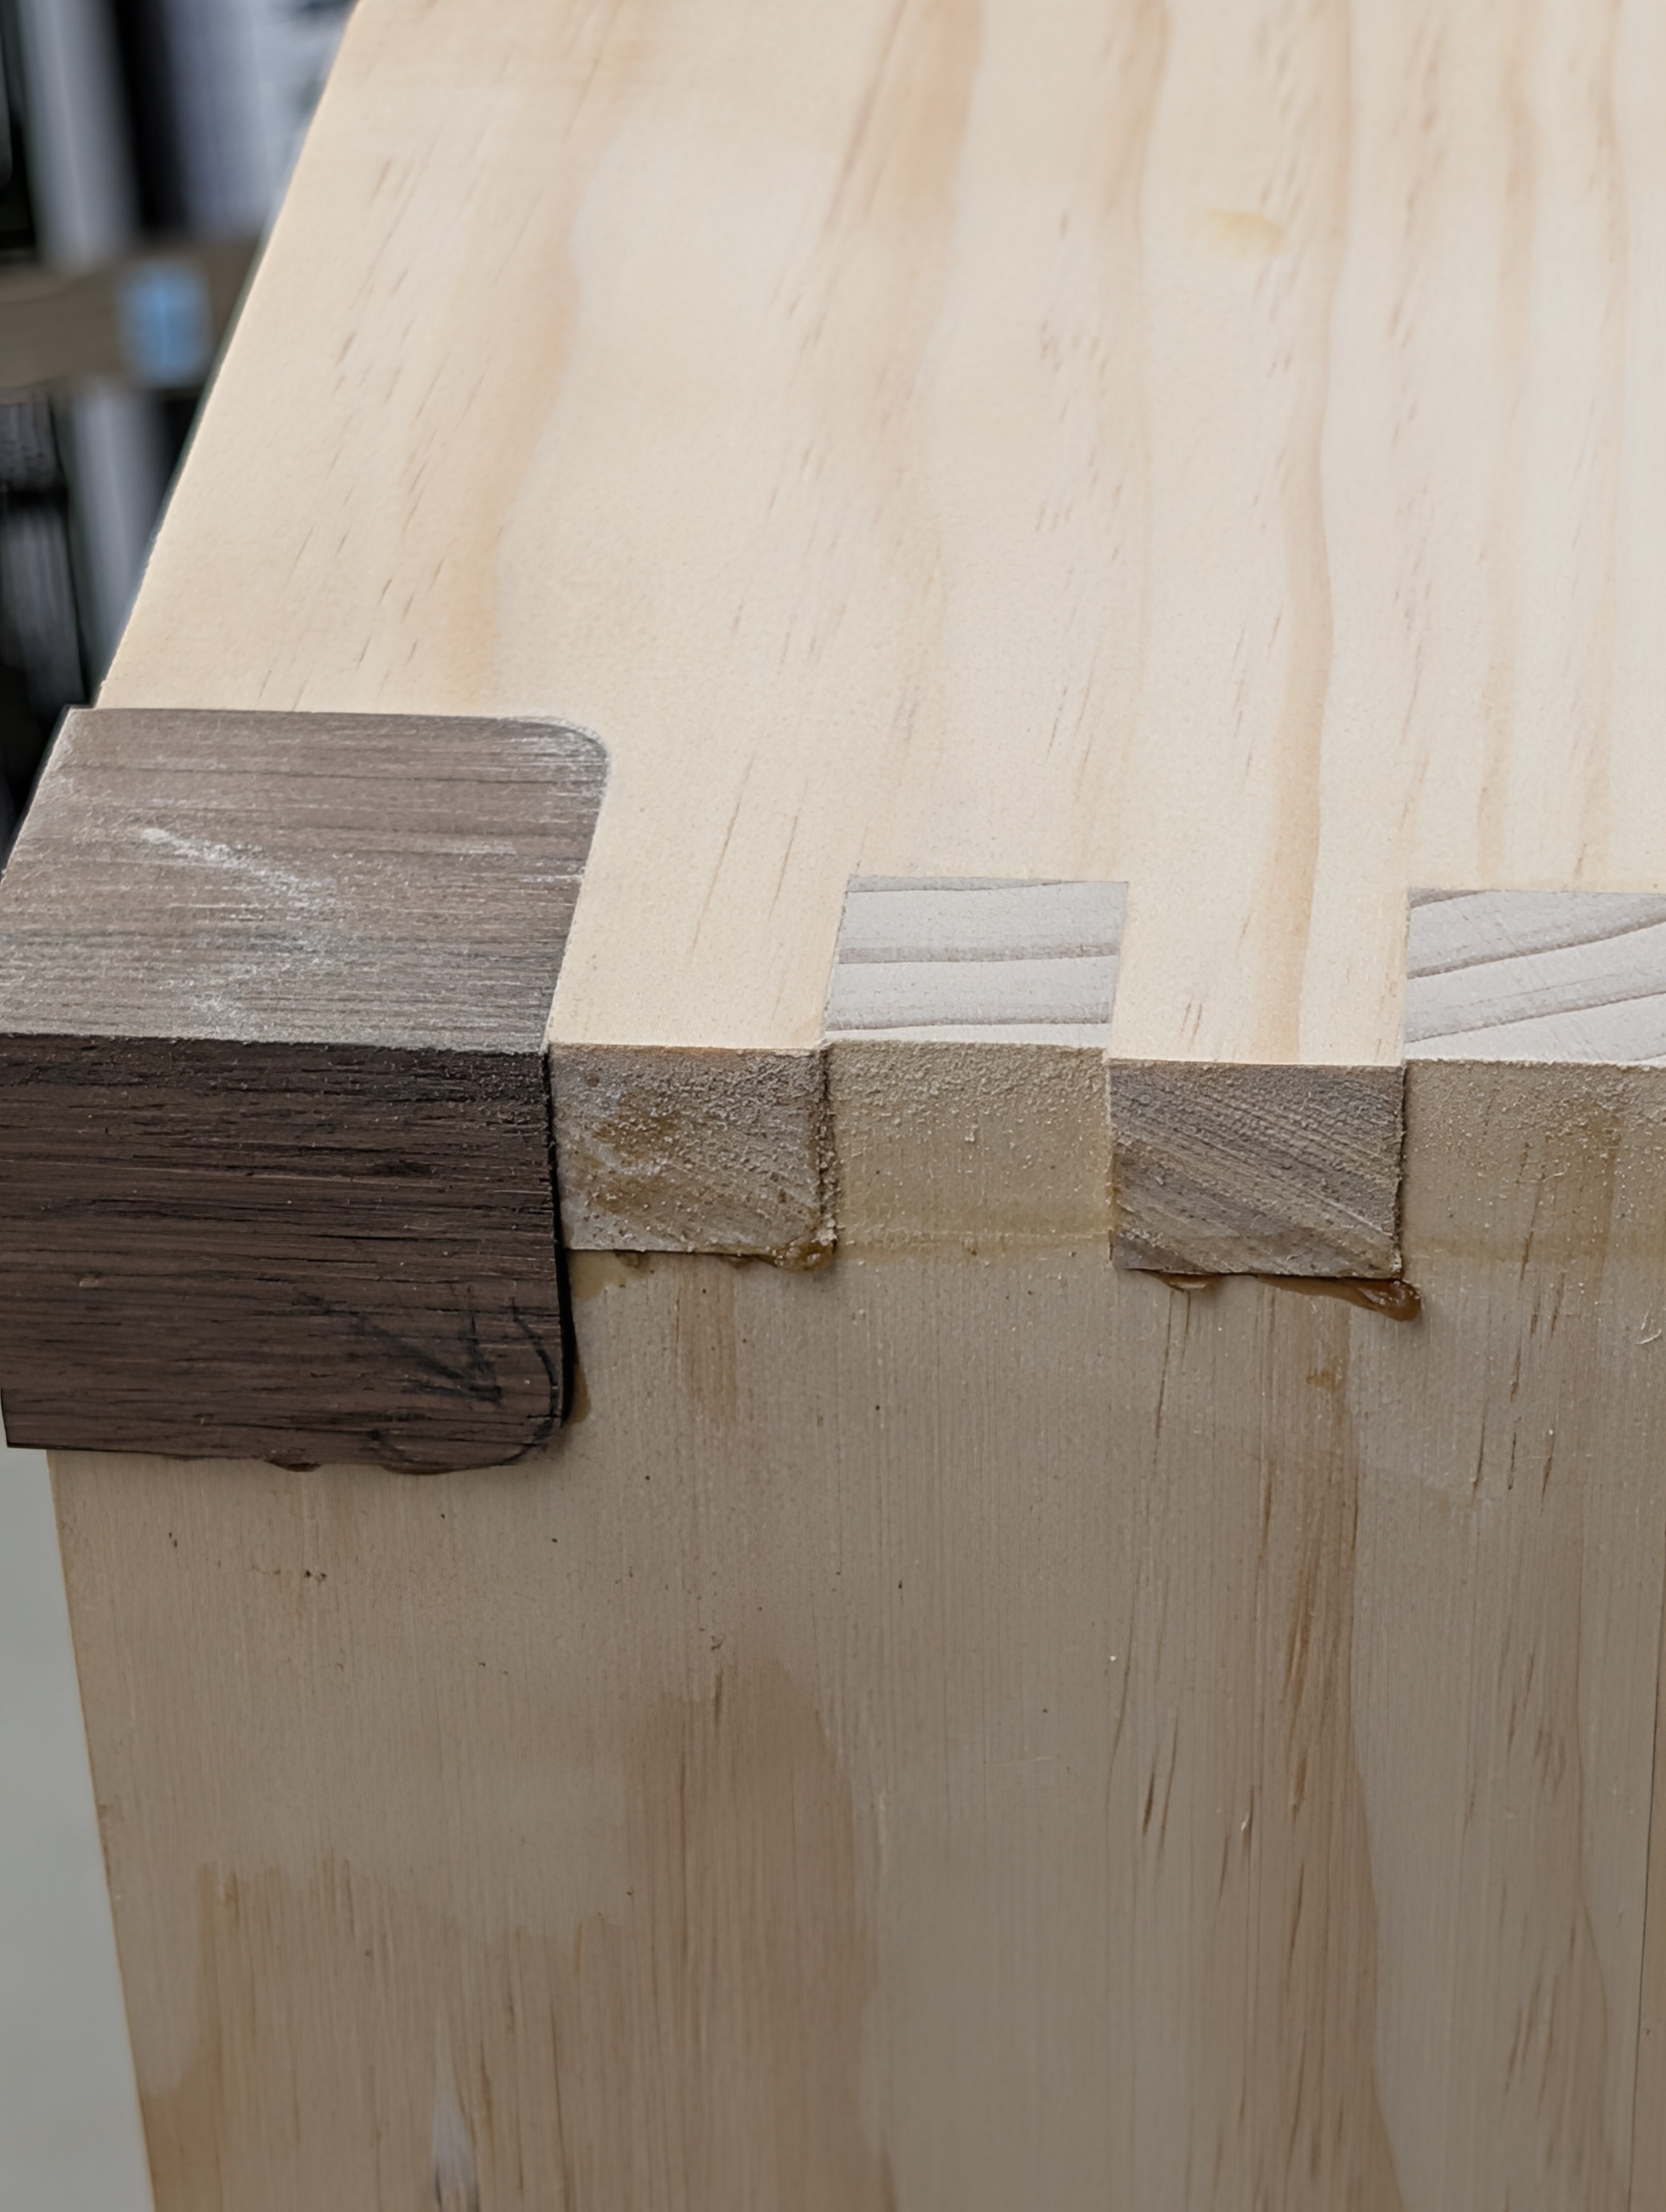
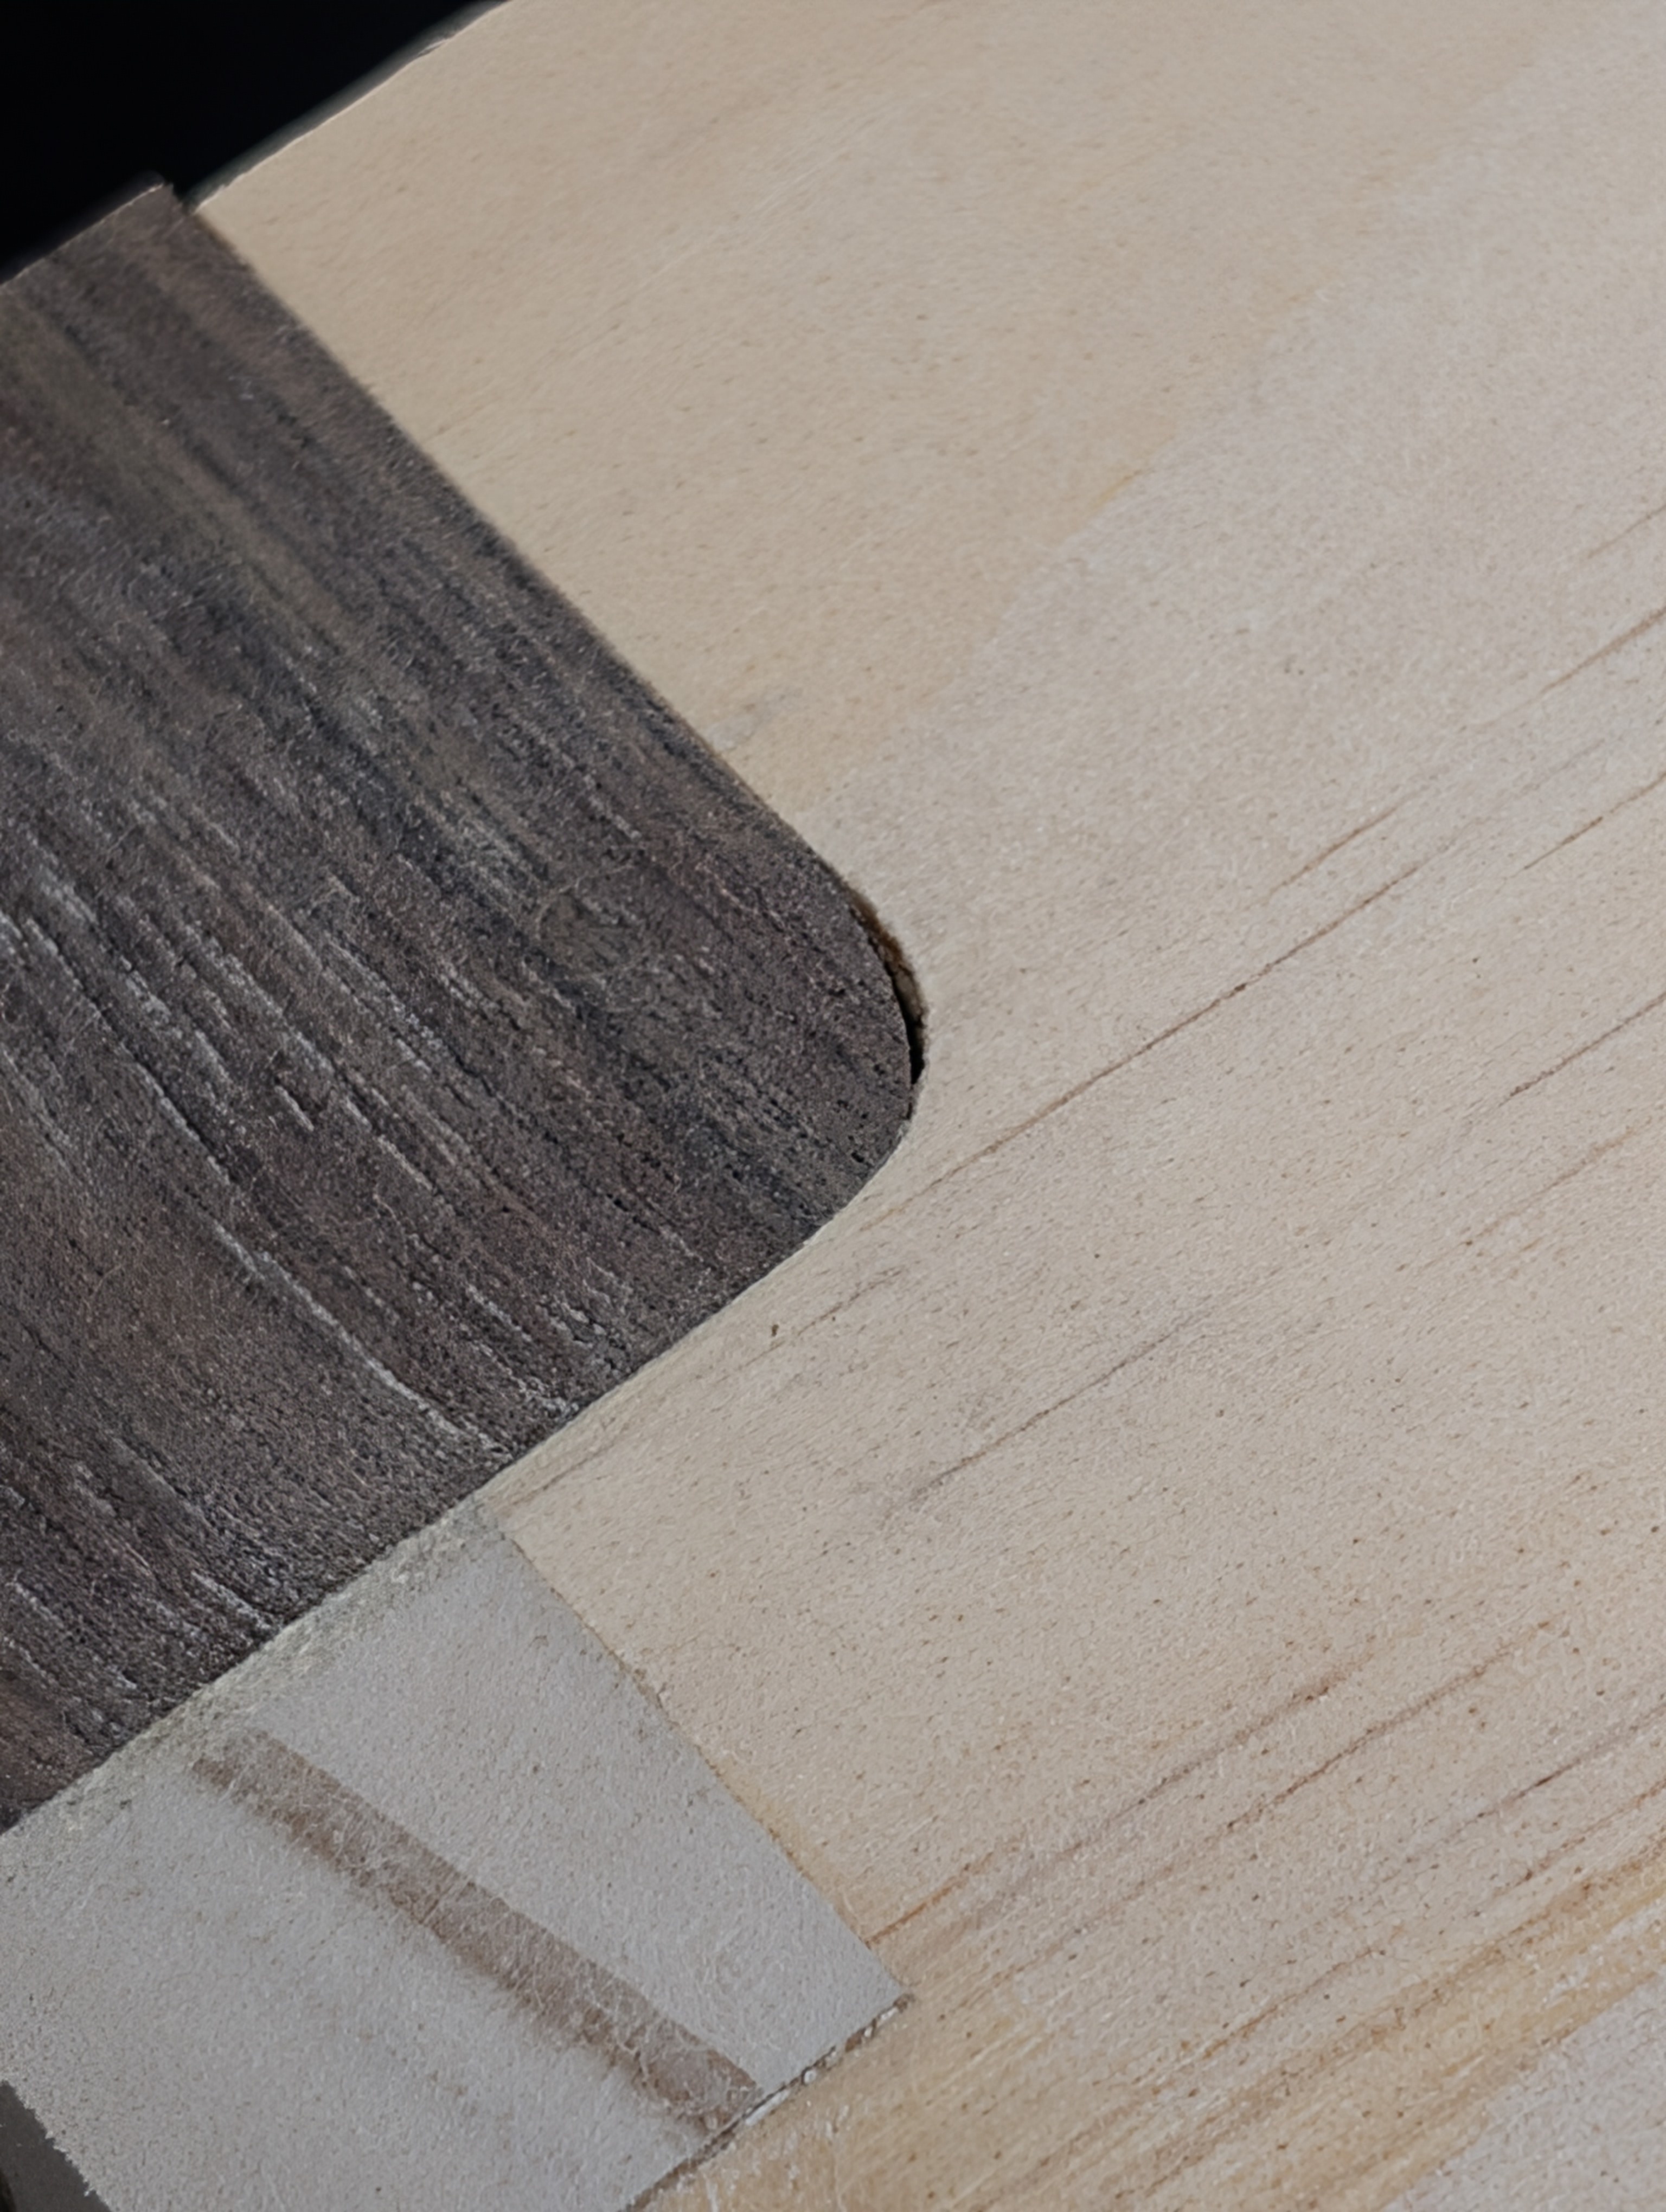
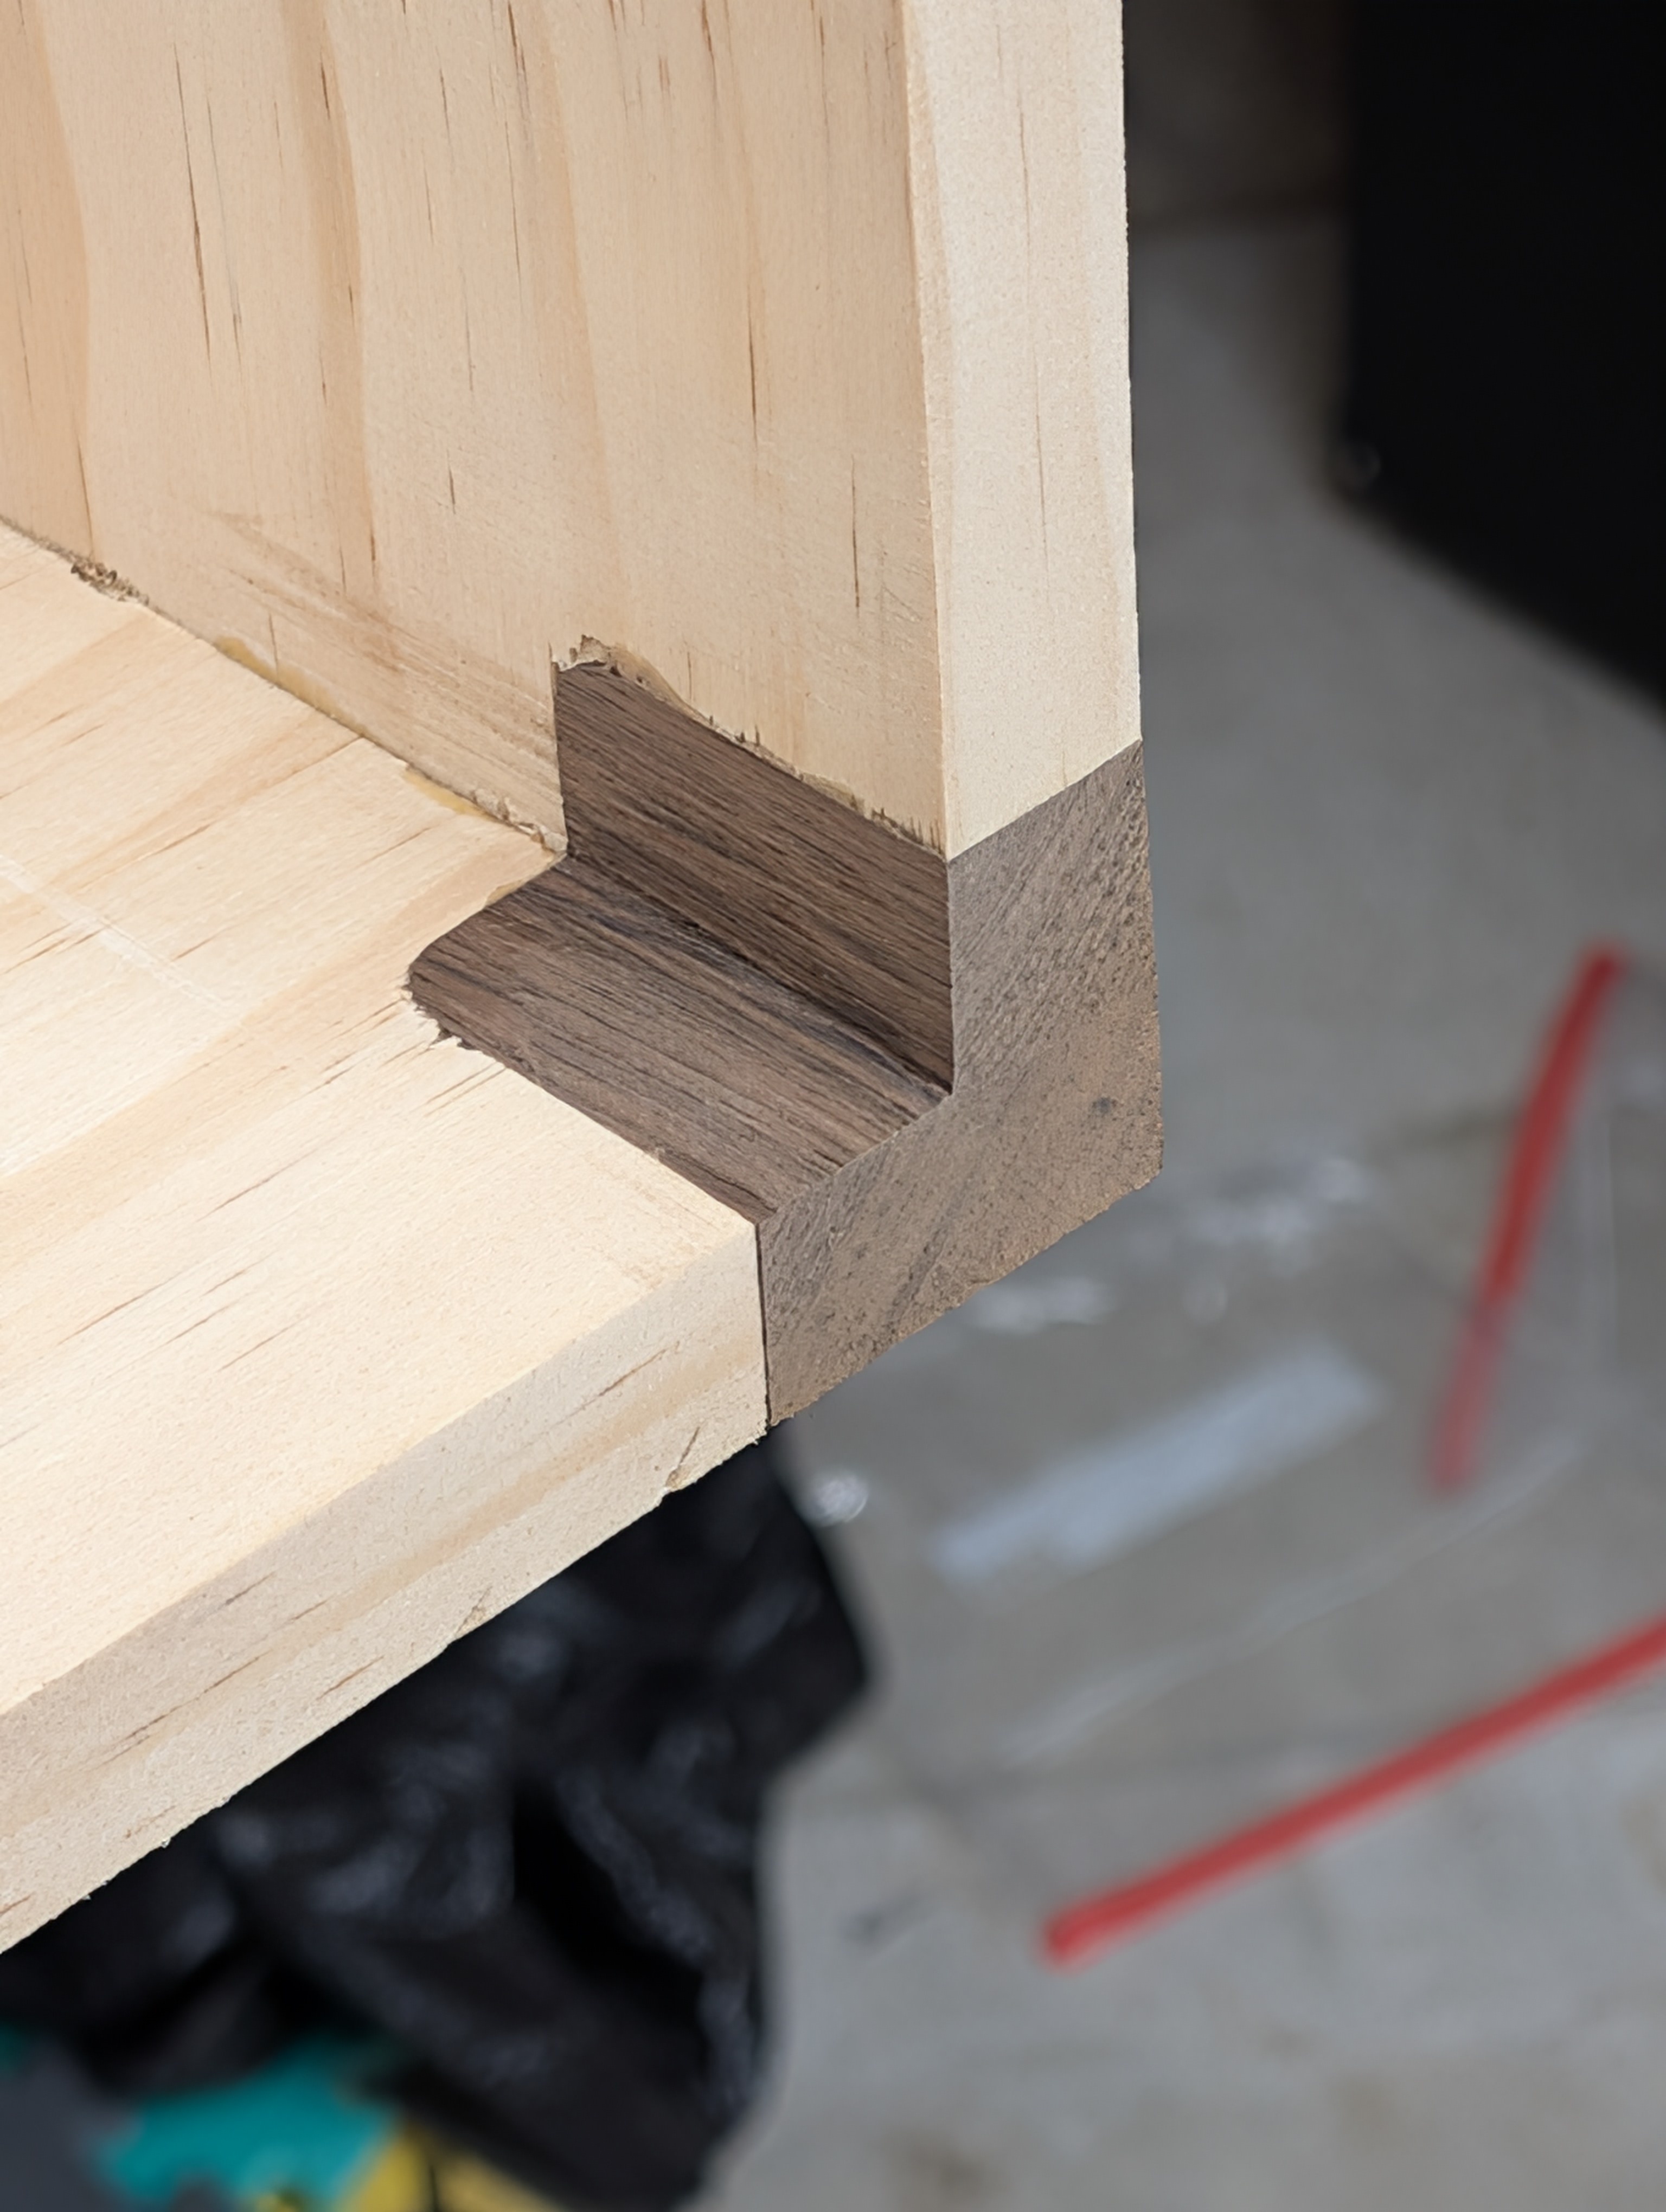
And will fit the Peruvian walnut blocks into the notches like this.

ItDoQ0J.jpg


Still debating on doing the baffle rim in Peruvian walnut too. It makes an interesting pattern like this.

yAjJmgI.jpg


Russ
 
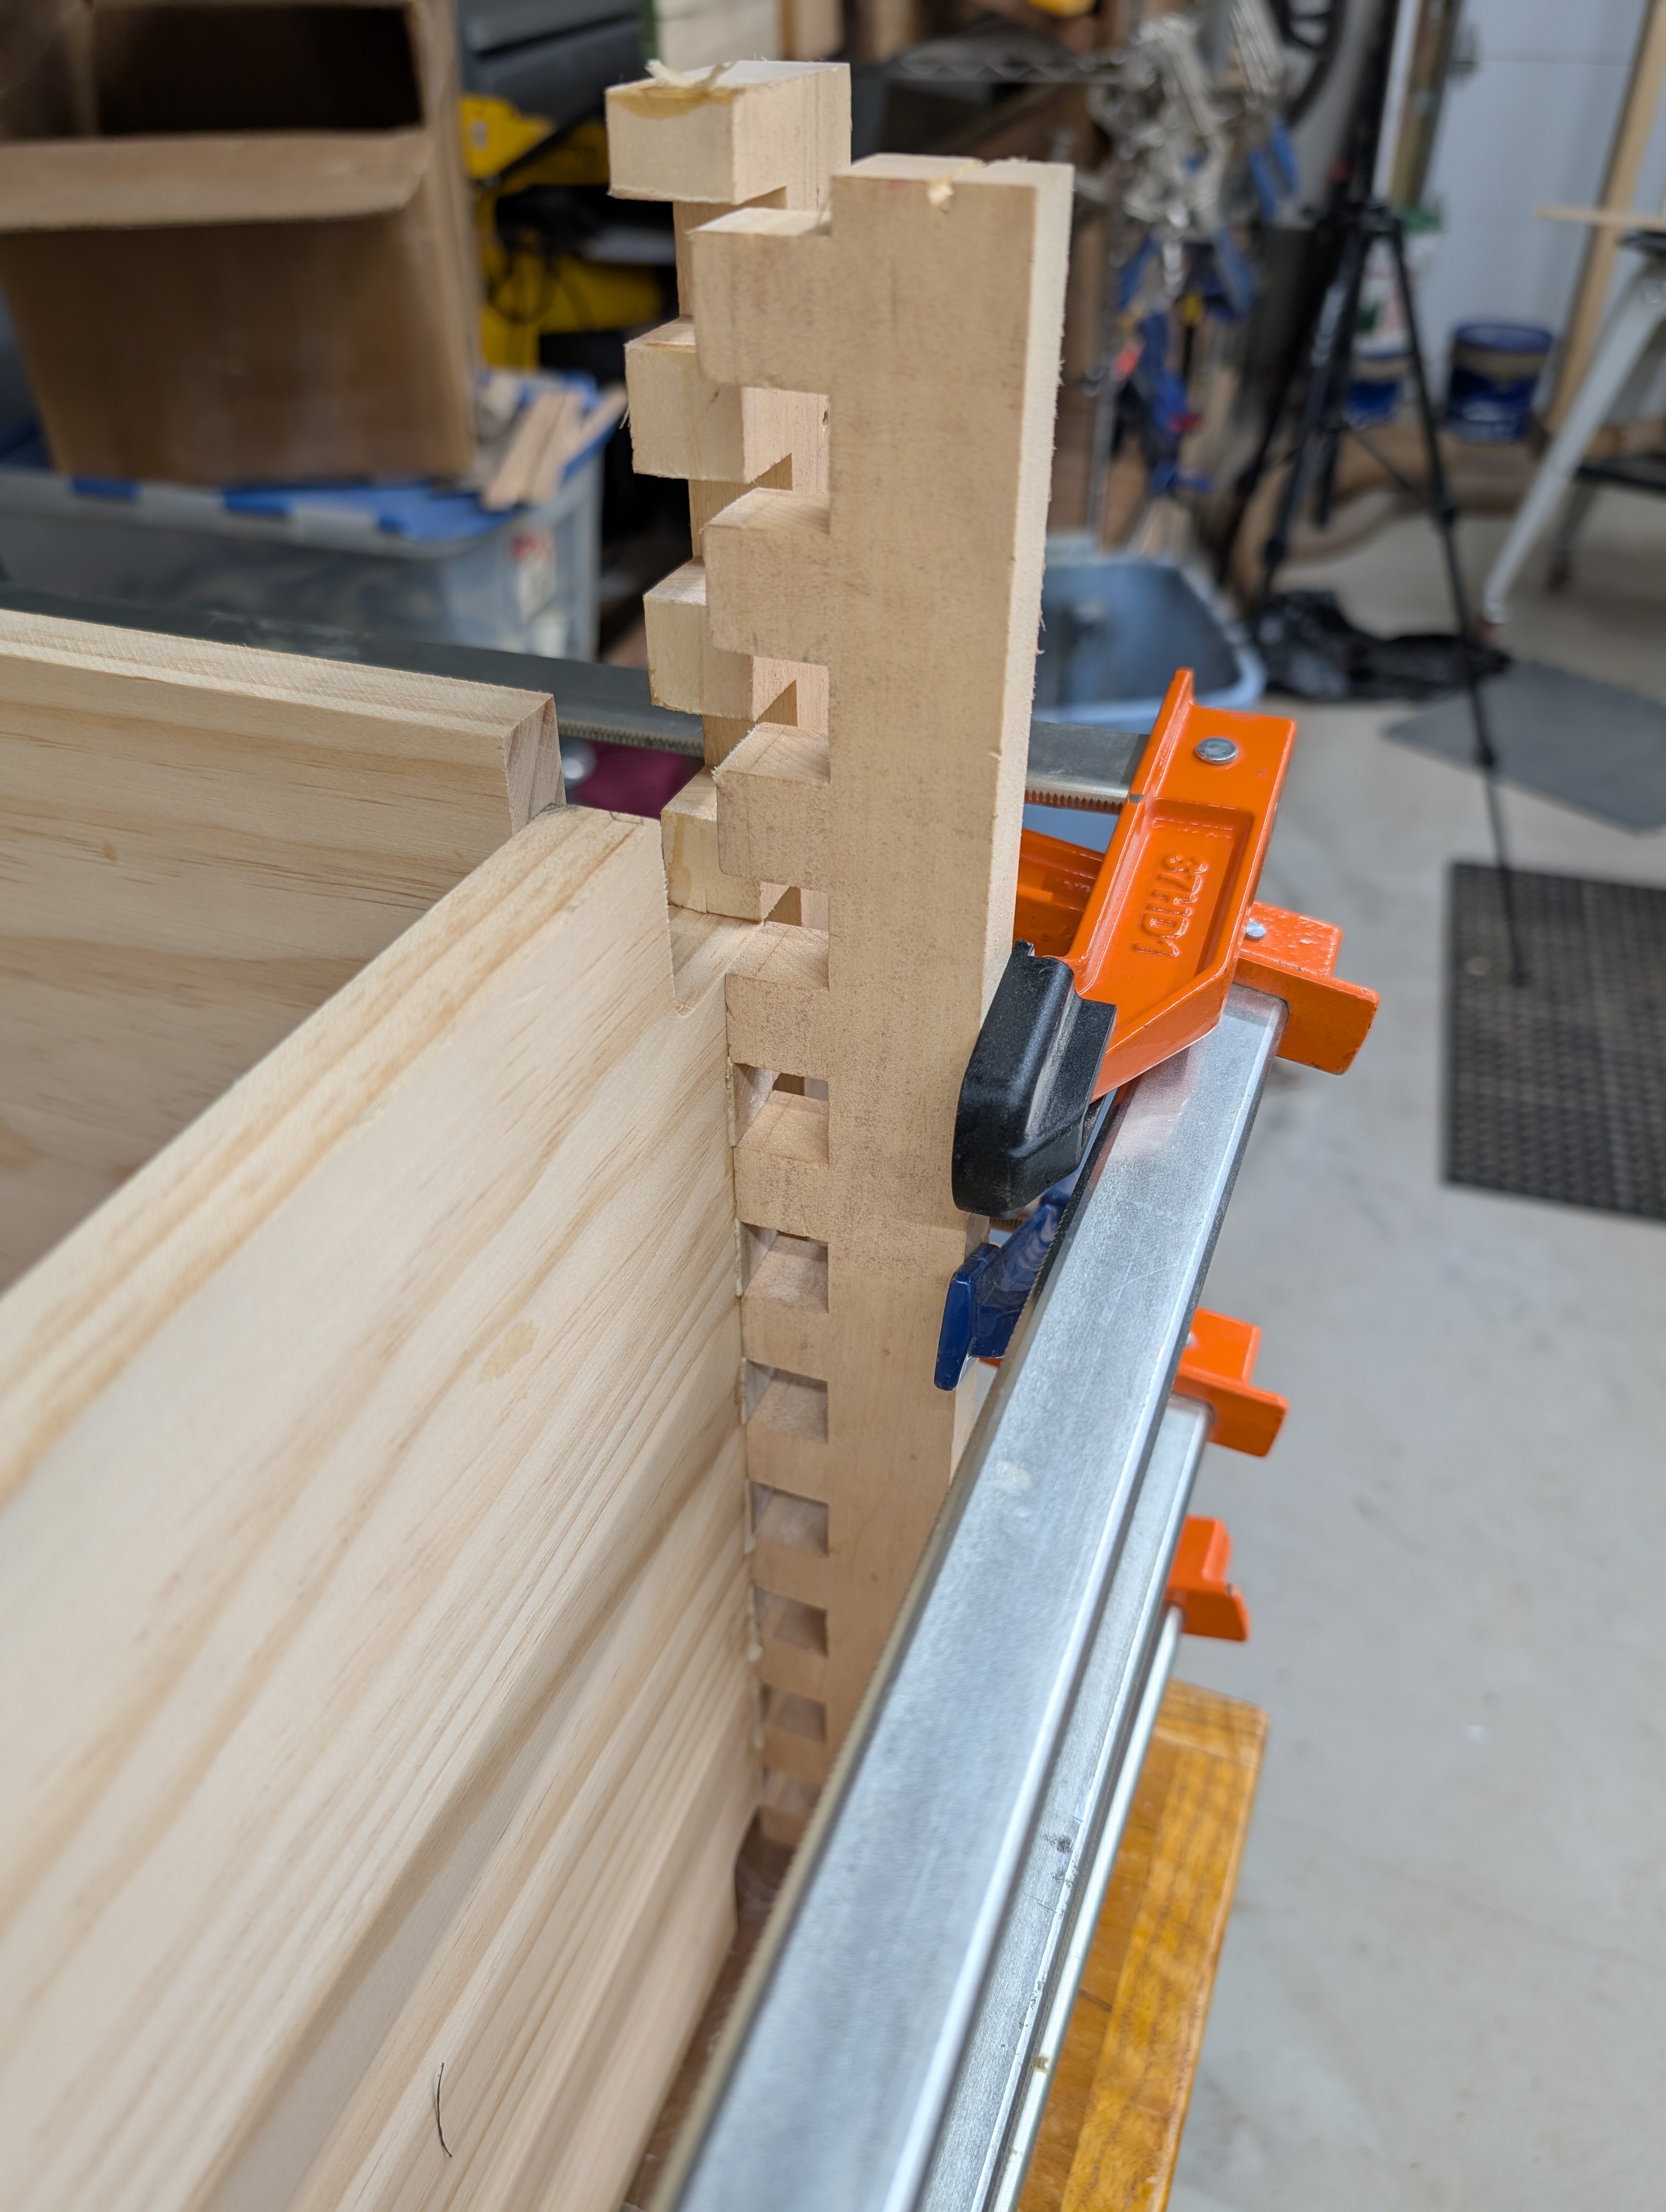
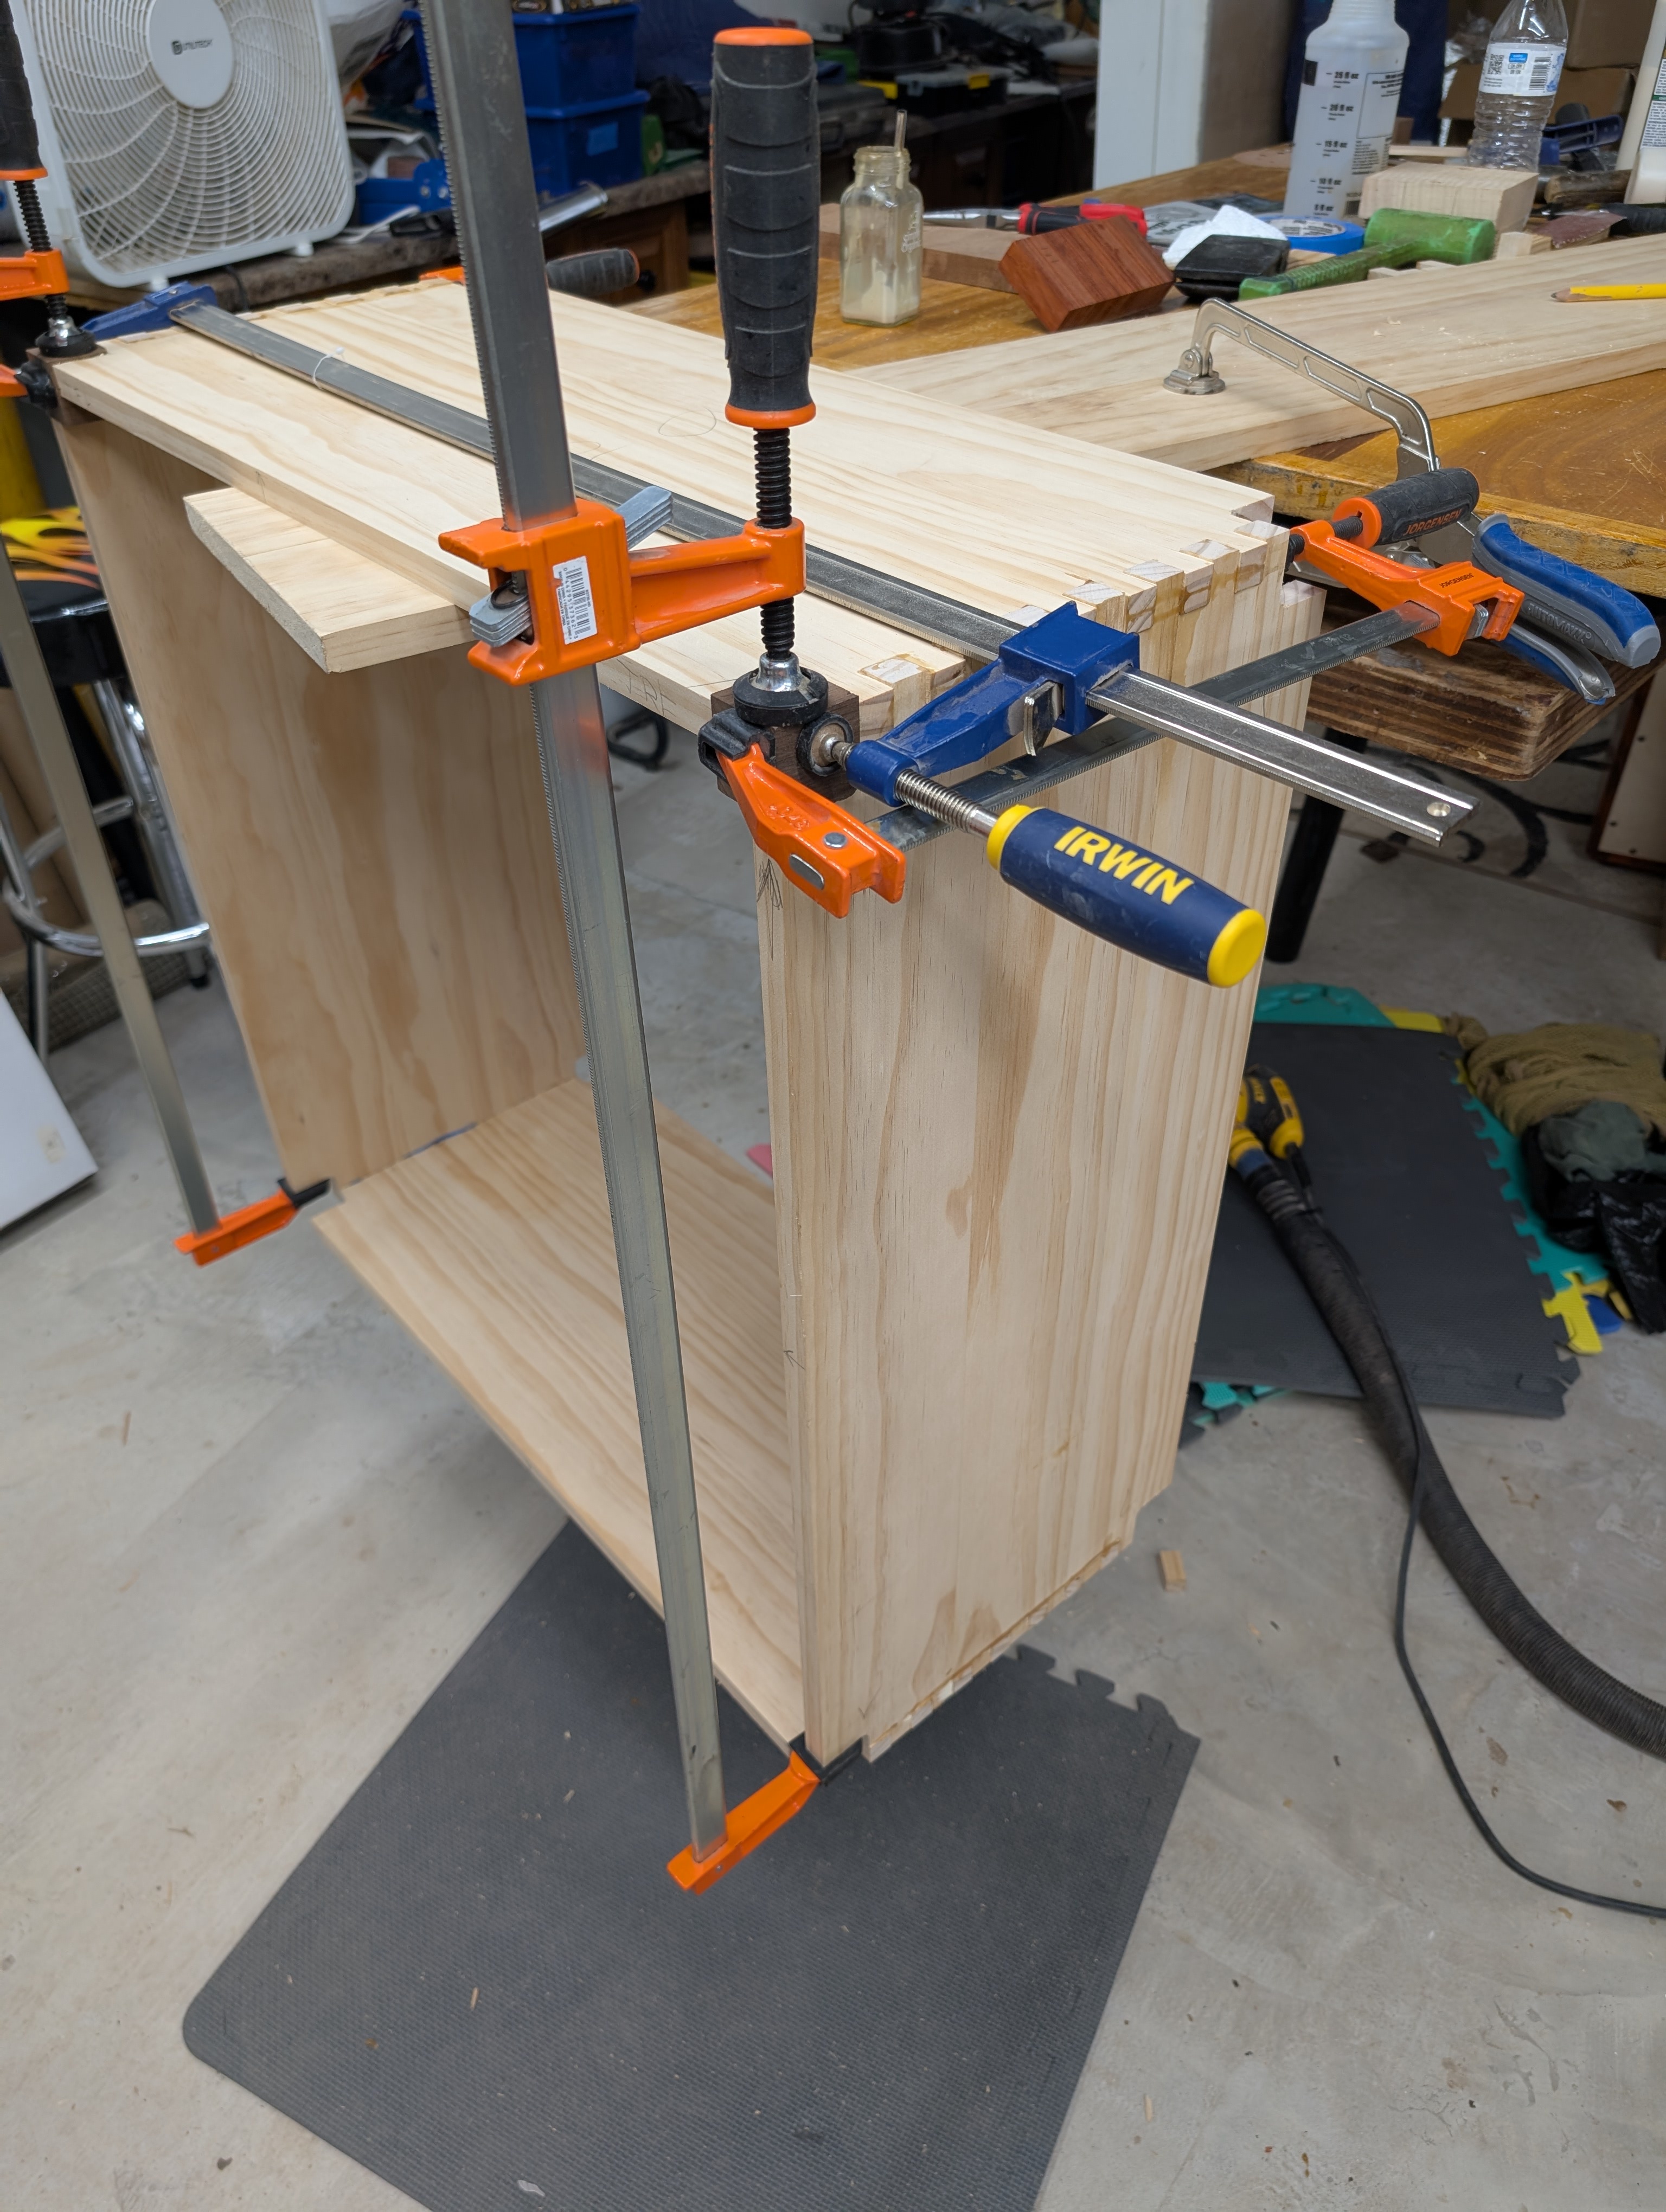
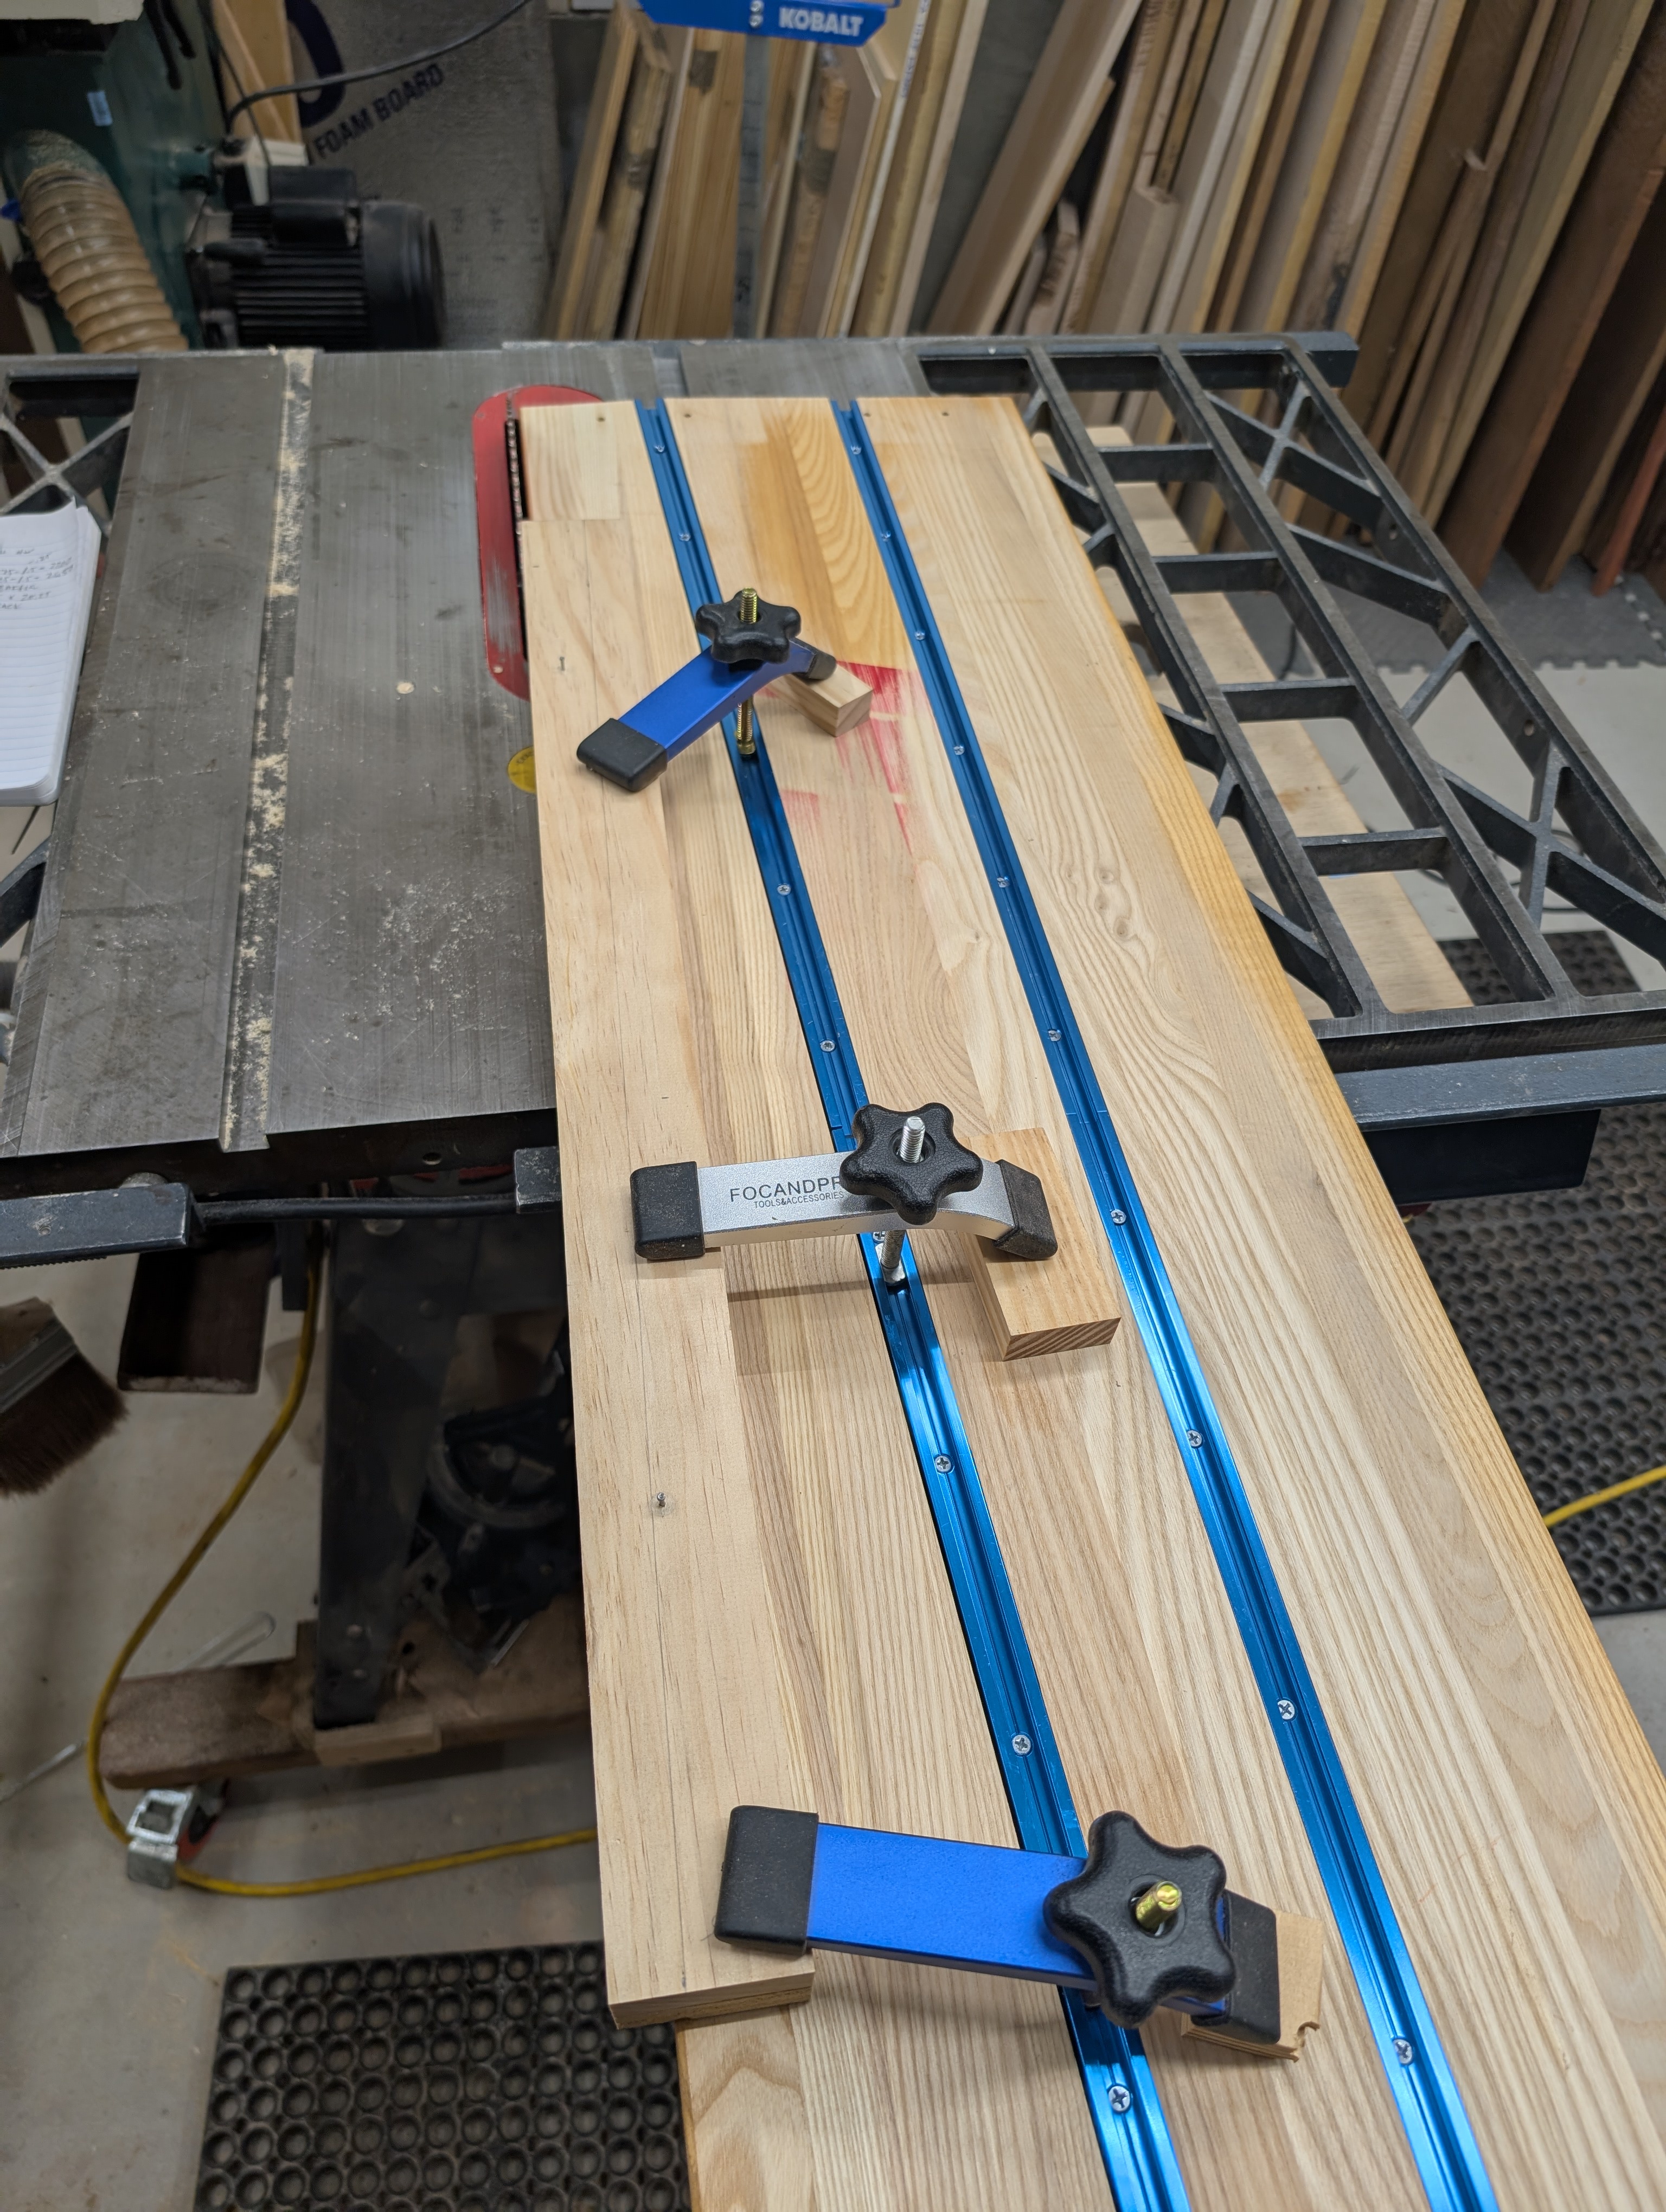
Today is glue up. After years of trying to hold small blocks of wood to glue finger joints [I cut them about .020" proud] I noticed a jig I made for a really foolish project and made a couple more to glue up the last side.

wMBtU2h.jpg


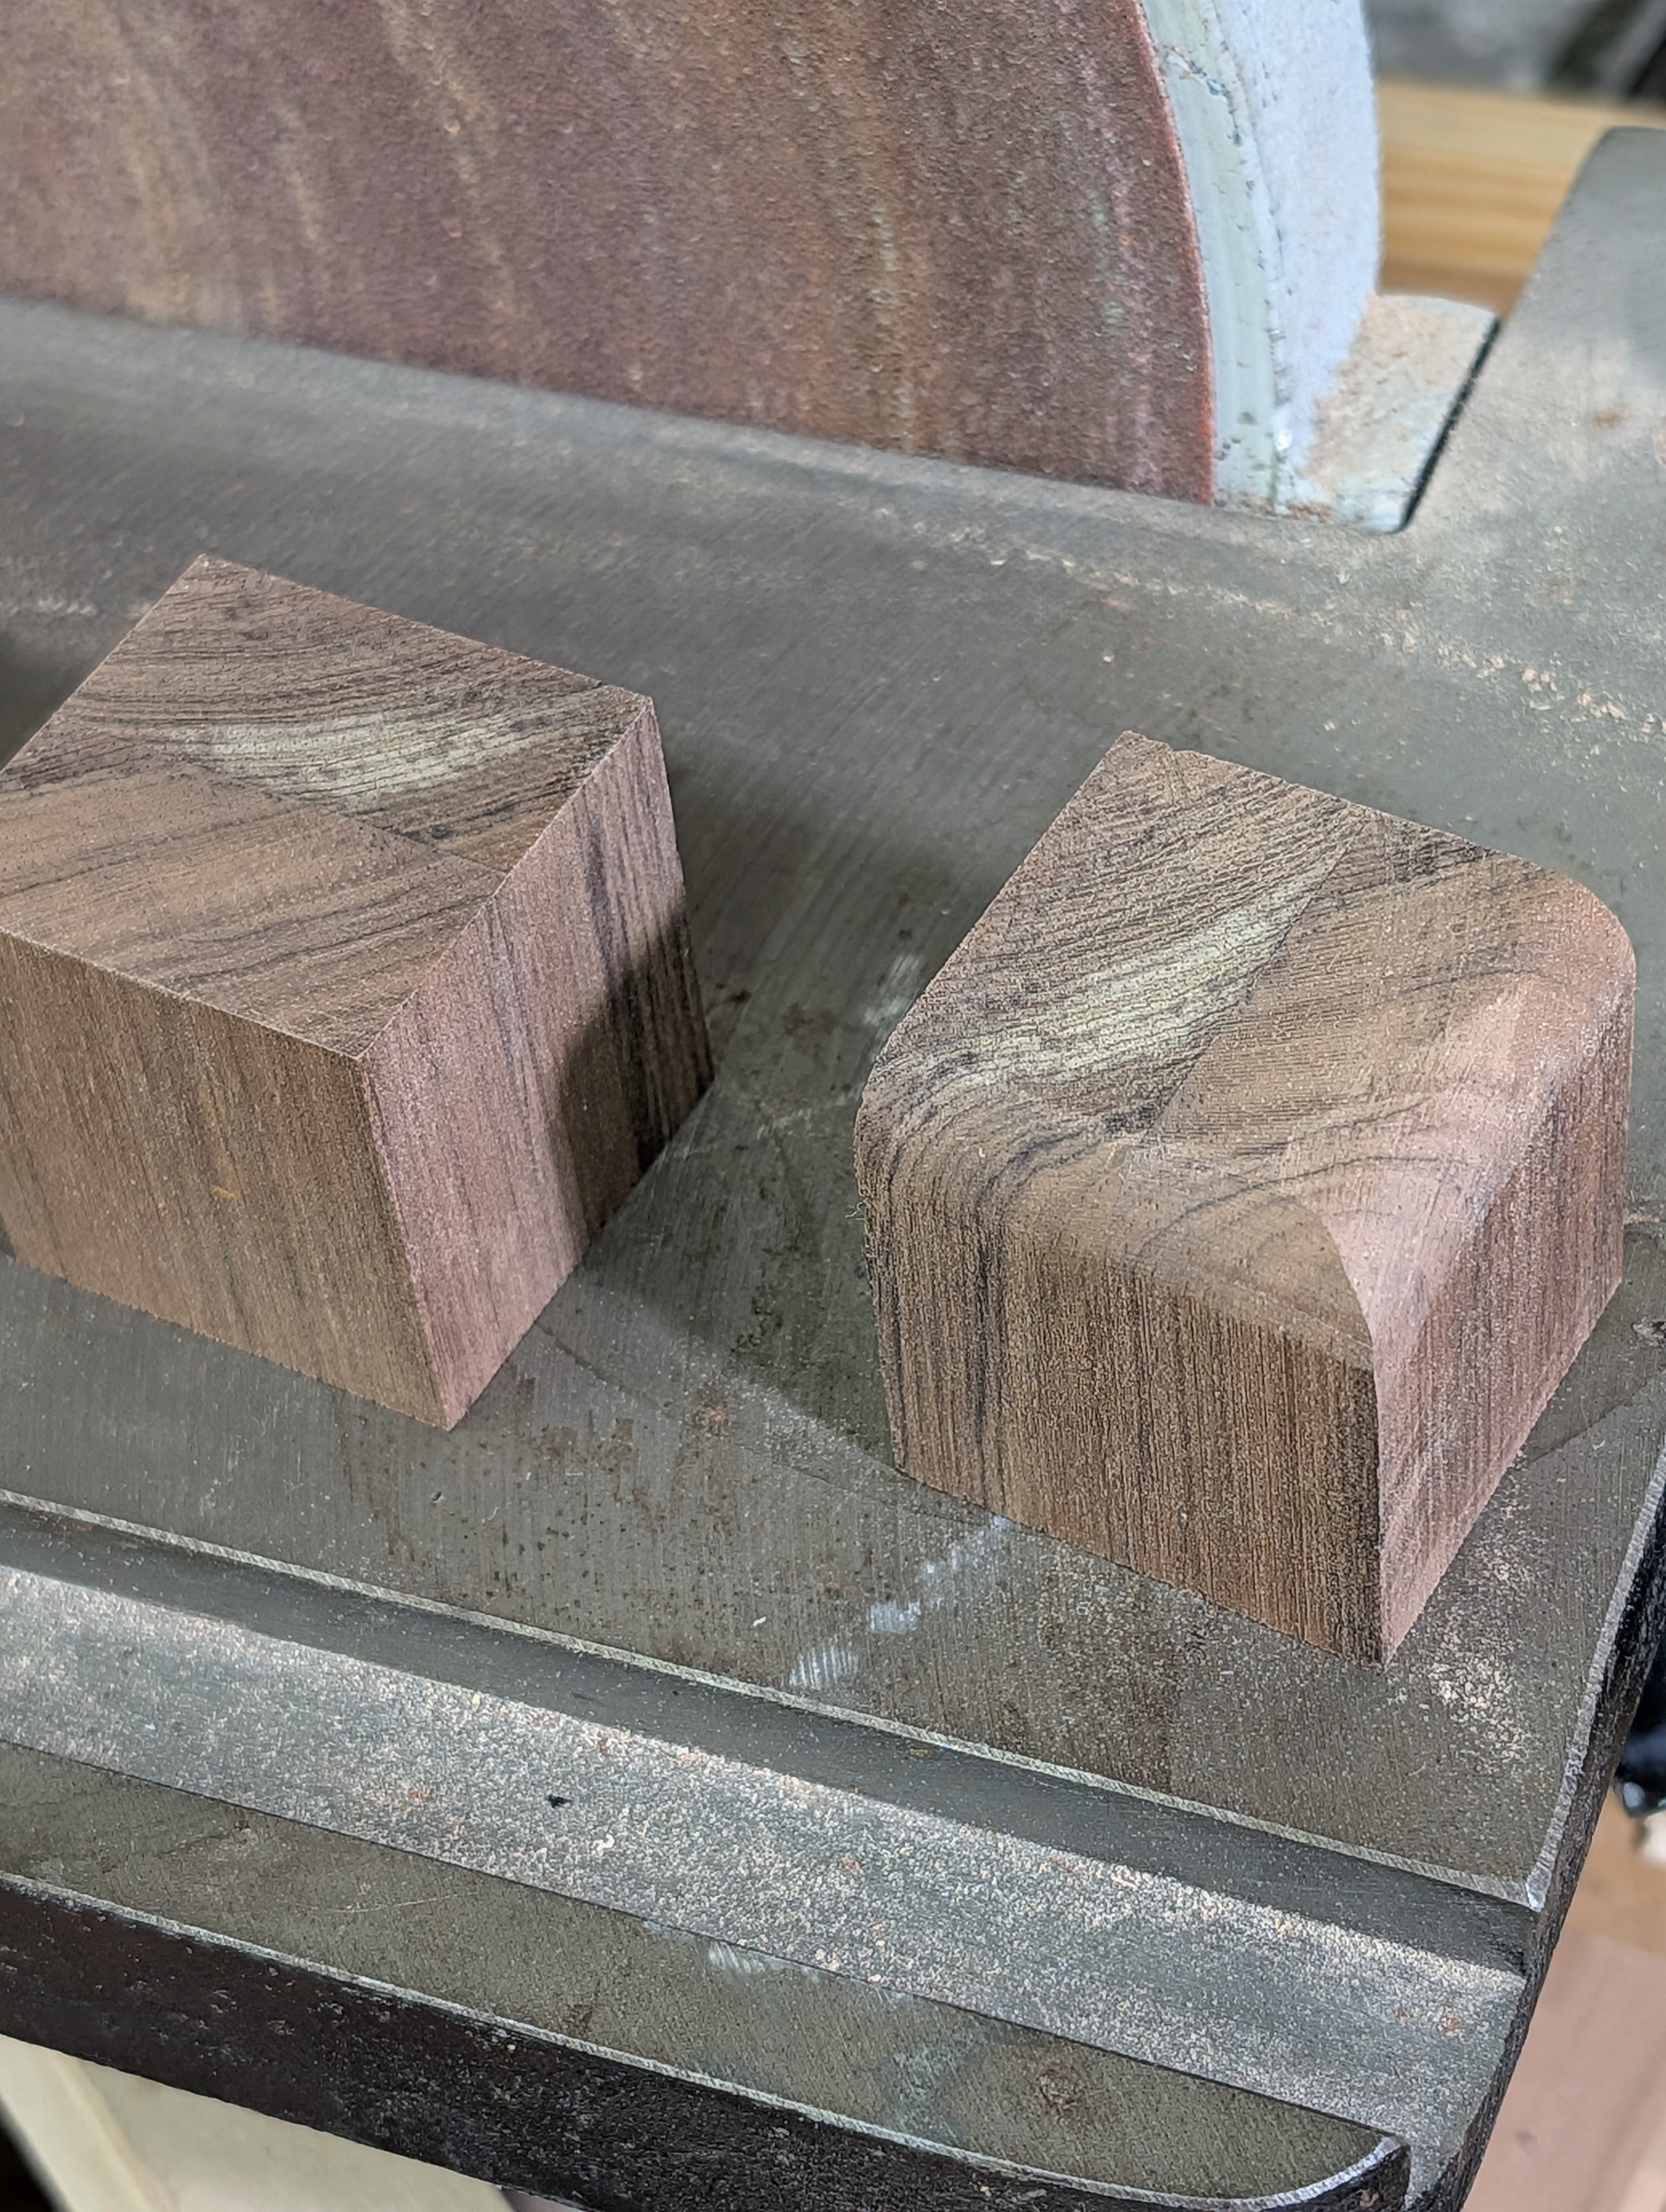
Also cut the walnut corner blocks and started to round them to fit.

jv8NCX0.jpg


Russ
 
What kind of grill cloth are you planning to use?
Hi Eric,

EC repro as I have a bunch - thinking I didn't have any last year and ordered a few yards more. The move uncovered the happy accident.

Working the corner blocks -

gluing.

y5G0x69.jpg


I try to cut the fingers and the glue on bits a bit 'proud' then cut/sand flat.

f0oMVH7.jpg


r9k0xjs.jpg


One side cut and sanded.

SMIGzXQ.jpg


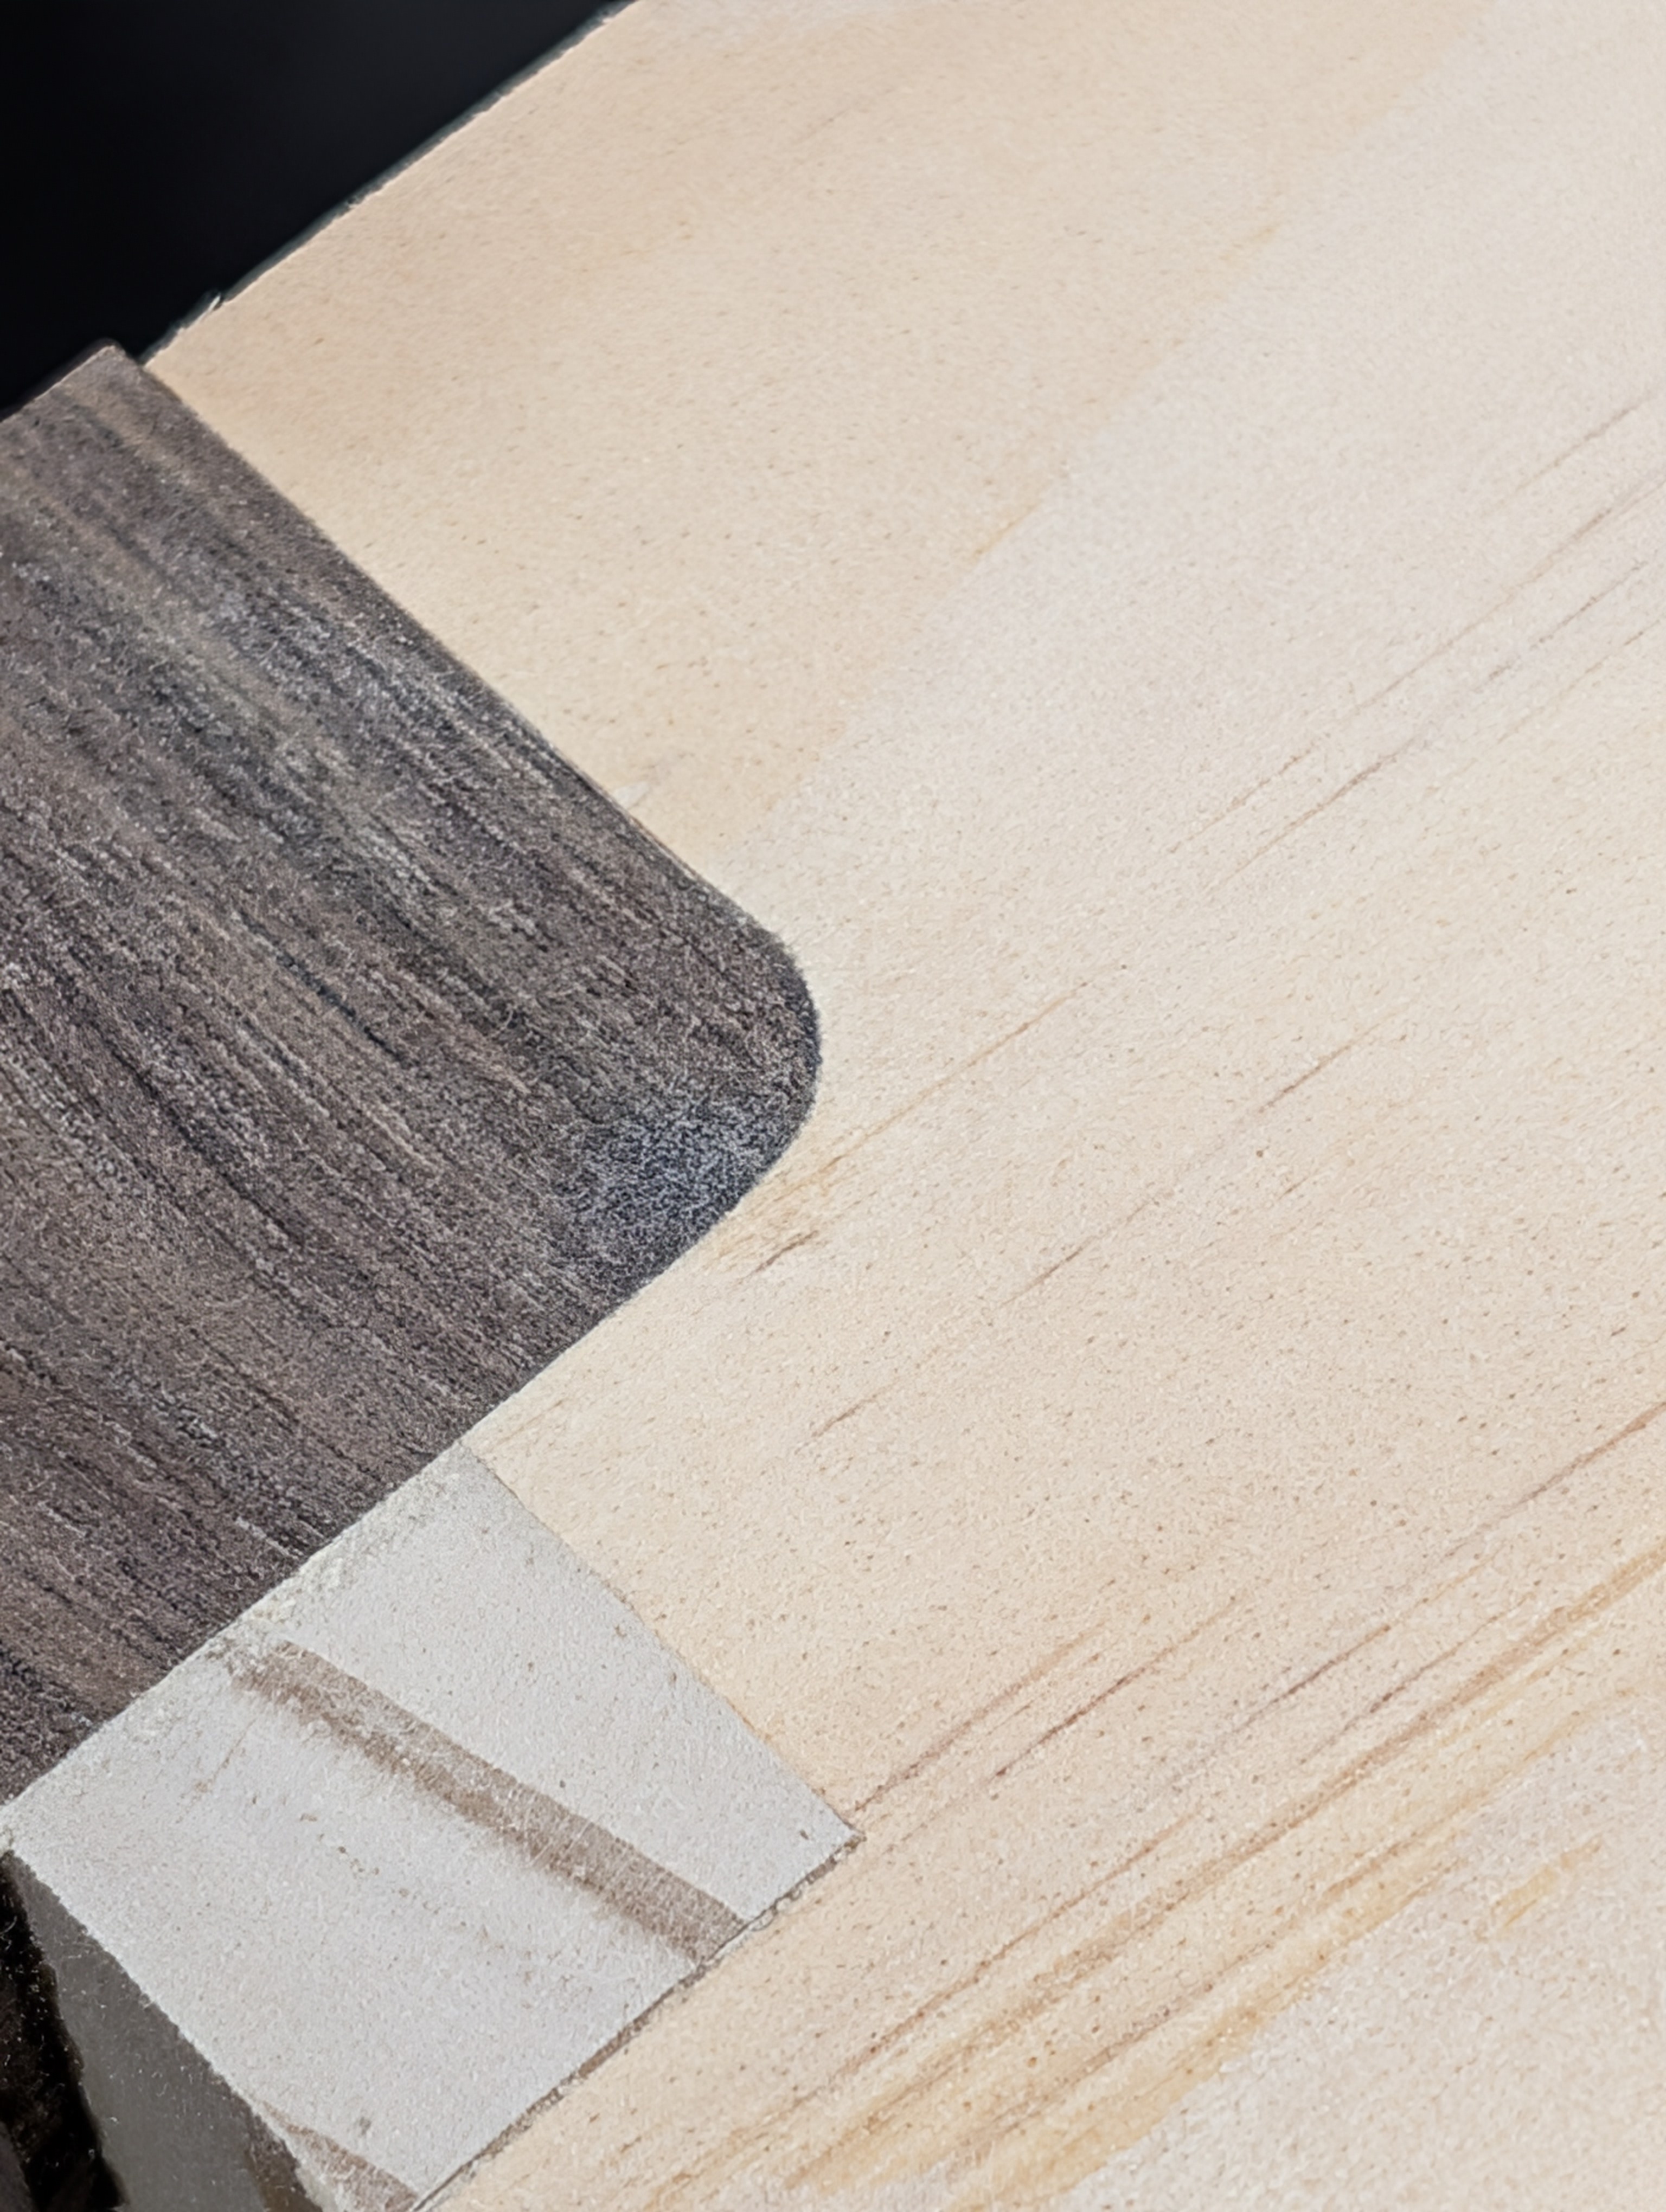
An inside corner has a small gap. Here is one of the benefits of contrasting wood.

NdUKw7F.jpg


Squirt in some CA + accelerant [who wants to wait?] and sand it flat.

2gM1mfI.jpg


These are the back corner blocks that need to be notched.

8cnsrse.jpg


At this point the cab weighs 18.4lb.

Russ
 
On that corner gap, do you use a little sawdust with the glue?
No, just straight CA .I've tired that with wood glue and disappointed as the repair seems an off hue from the surrounding wood I suspect due to the glue. Not tried it with CA.

You've just given me an idea for accents - CA and powdered mica in the deliberate grooves / cuts. I am a heretic when it comes to wood.

Russ
 
@Geeze I didn't have luck with pine, cabs I made with pine didn't sound good as a tone wood for cabs, ply sounded better. You've built so many cabs out of different woods, have you noticed tone difference or wood that sounded better or worse than others? I've made cabs out of particle board, chip board, pine, different layered ply, the best type was always 9-13 layer birch ply.
 
I didn't have luck with pine, cabs I made with pine didn't sound good as a tone wood for cabs, ply sounded better. You've built so many cabs out of different woods, have you noticed tone difference or wood that sounded better or worse than others? I've made cabs out of particle board, chip board, pine, different layered ply, the best type was always 9-13 layer birch ply.

I've heard good and bad about pine. This will be the fourth Radiata pine cab - the first three were TL806 ish - same volume, massaged external dims. I built the first in 2013 as a buddy who is a hired gun guitarist in Dallas wanted a smaller cab that would fit one of his heads. He later reported that it was his best sounding cab, even his band mates said the same. He called me in 2023 and wanted another, just like the other one. I goofed on dims and ended up building one for me - had to split it front to back to add in more wood.

It is an amazing lively and resonant - in a good way cab. I've built cabs with BB, poplar, African mahogany, sapele, maple, walnut, cherry and aspen. None of them touch this cab. Structurally not sure how Radiata differs from normal clear [no knots] pine but it seems to be more homogenous between the summer and winter growth.

I keep mumbling about getting a good reference mic and analysis software to measure frequencies and resonance but other bits keep tempting me - amps, a house, etc.

Baffle is in glue up and the back is next.

Russ
 
Gone most of yesterday touring the hills.

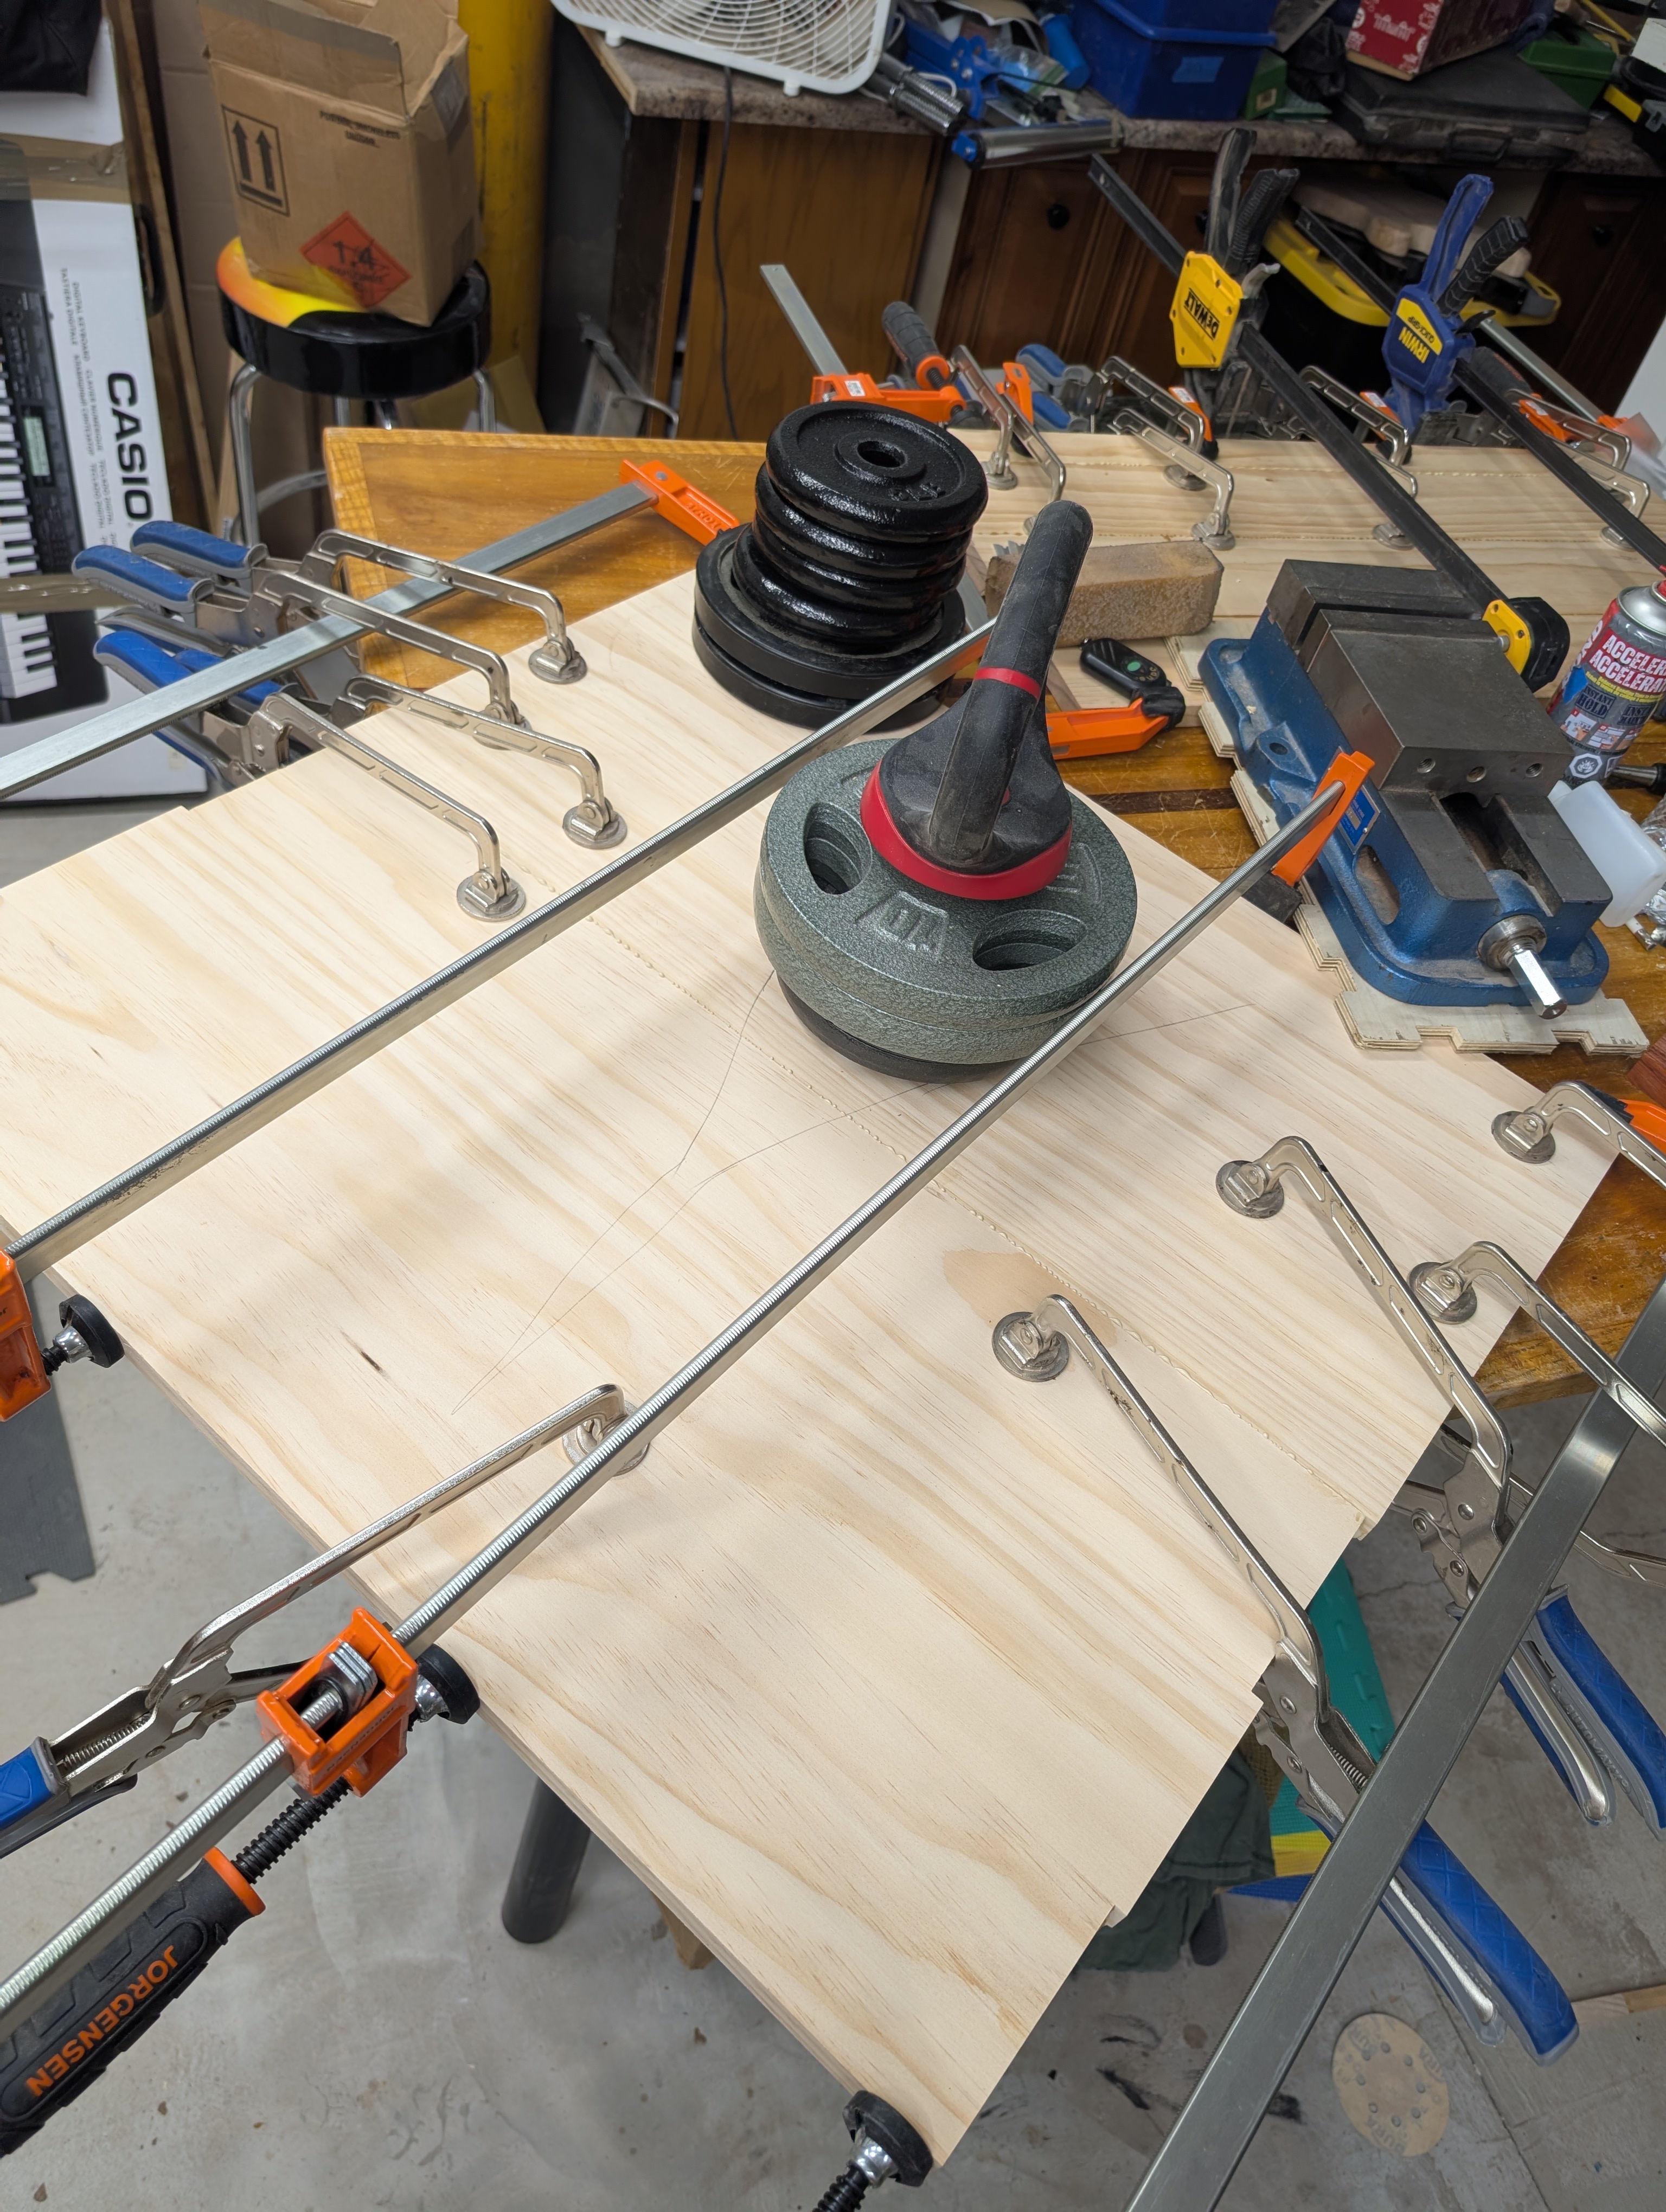
Gluing up the multi part baffle. Spent some time running the two halves through a drum sander to get them flat in relation to each other. Now in glue up.

XBbzGIC.jpg


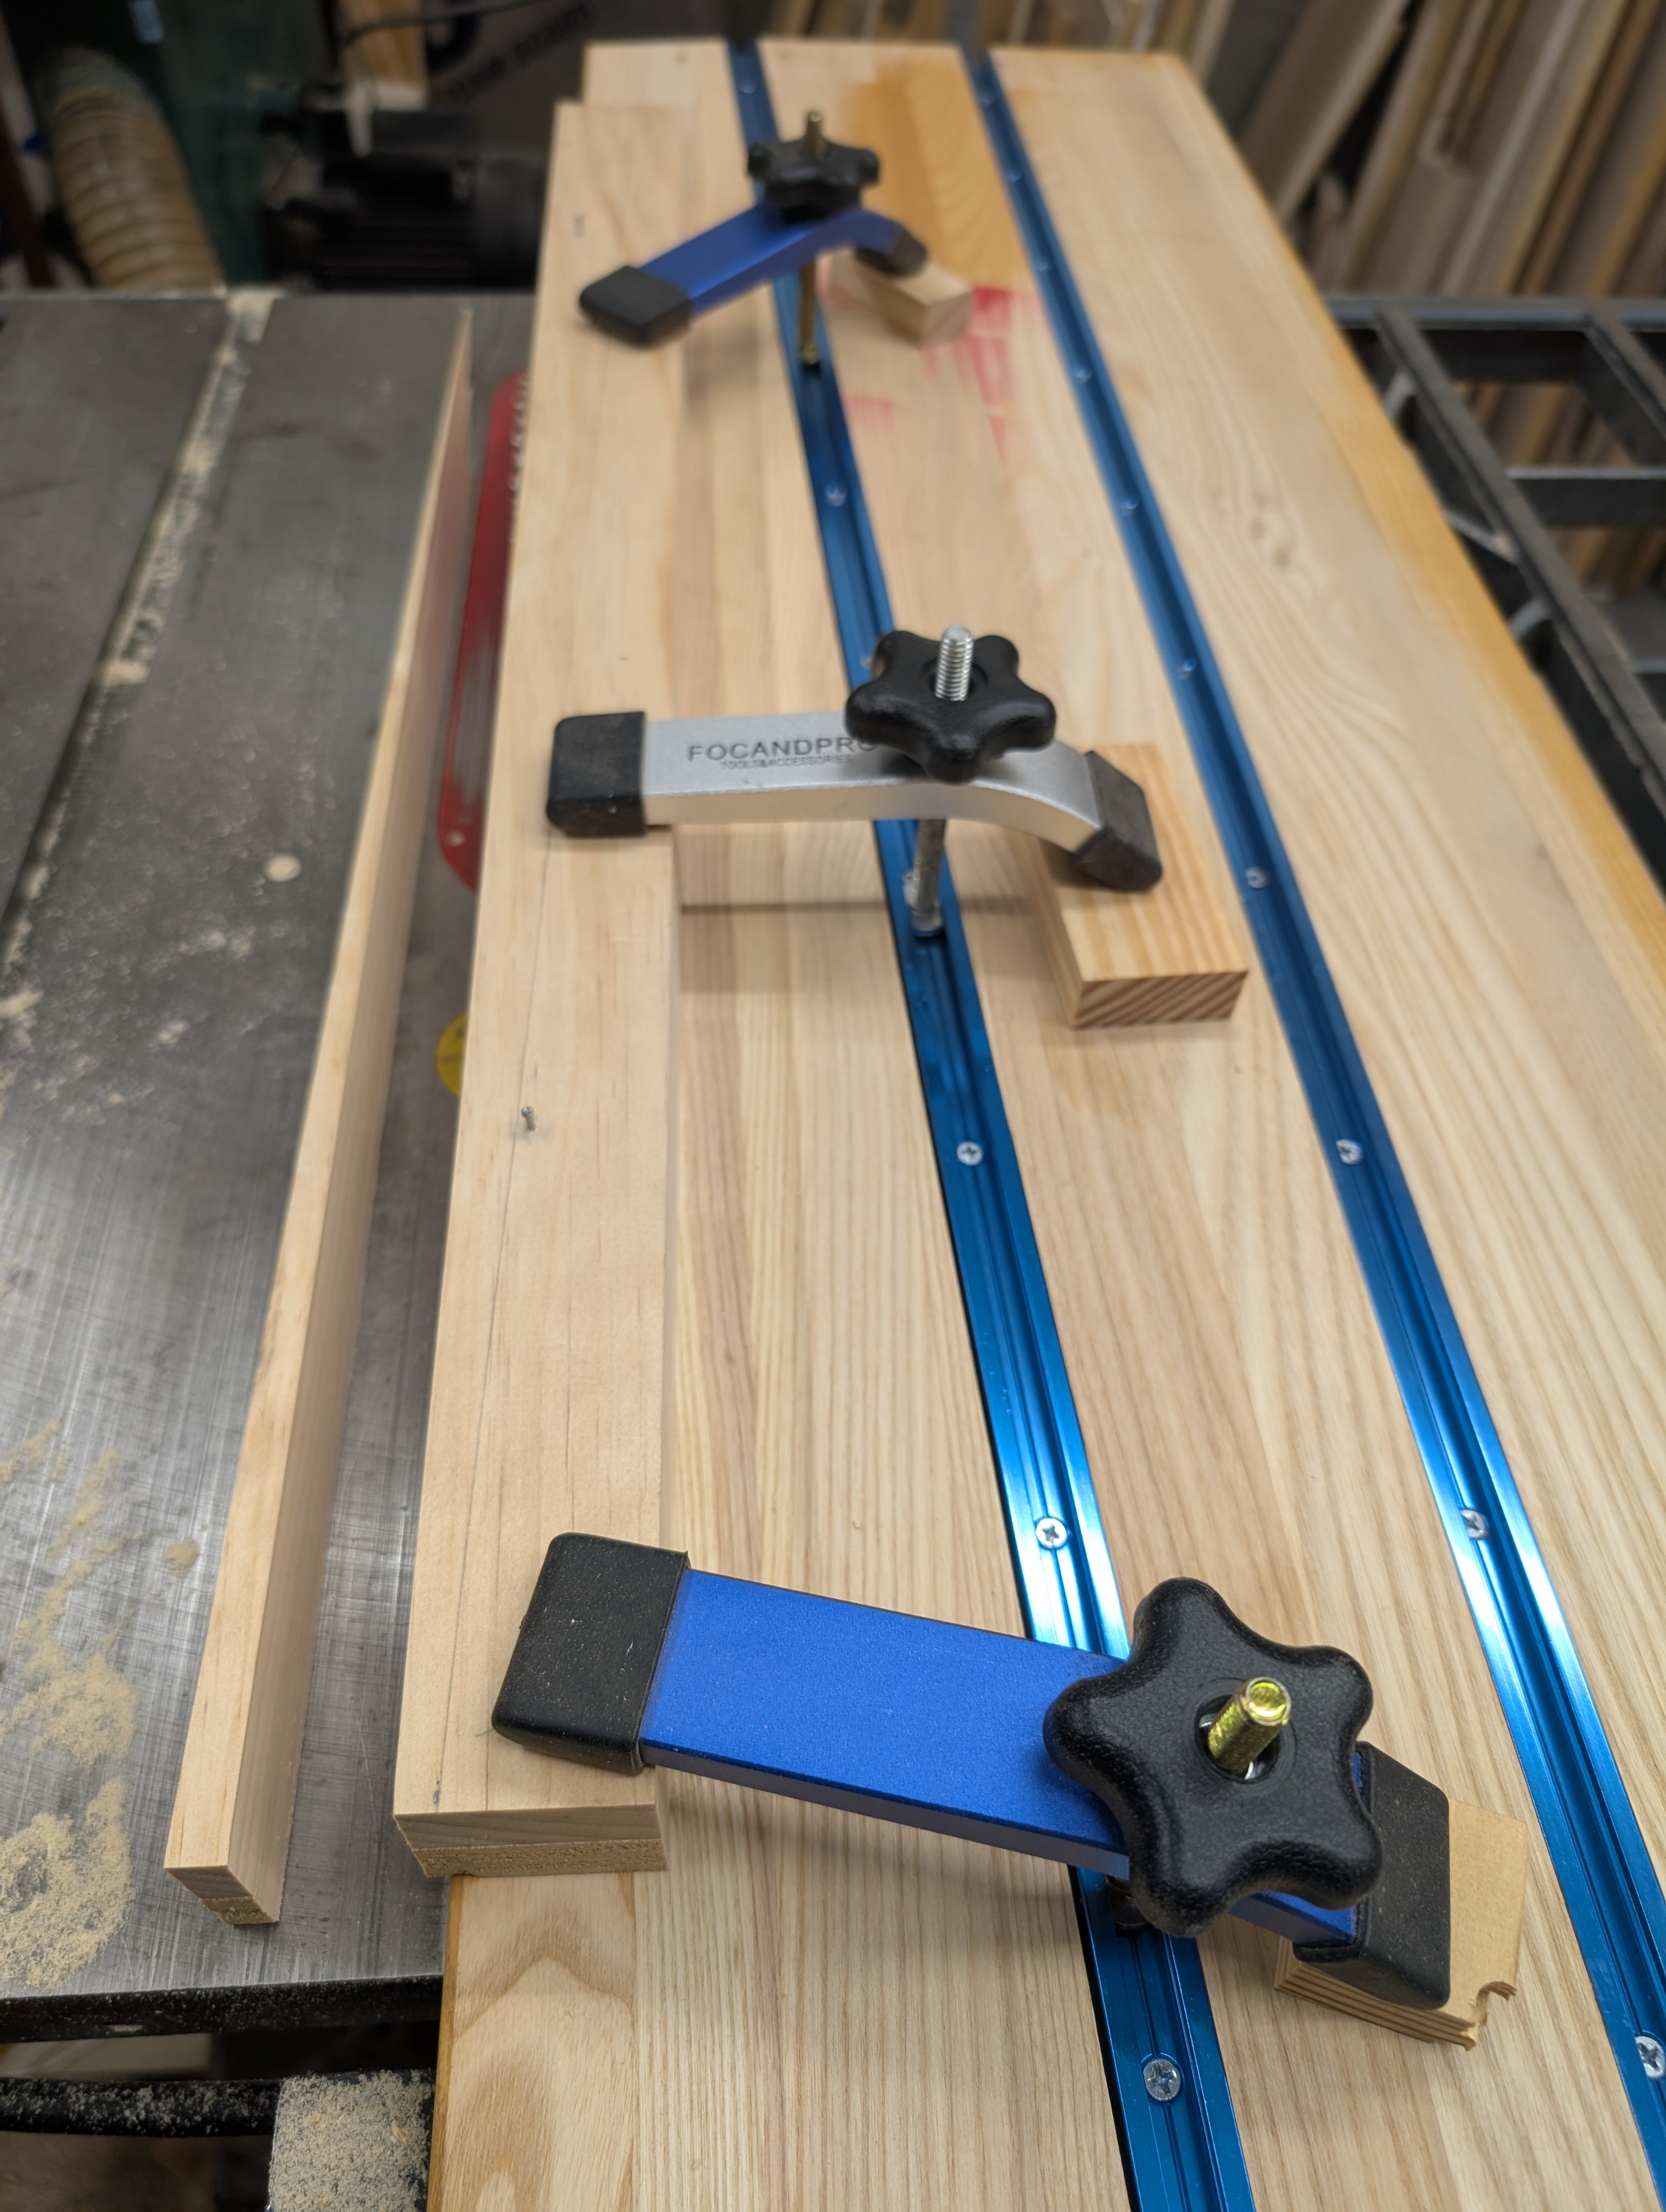
Starting on the baffle surround. Due to the additional piping I screw to the finished baffle it is front loaded and attached to cleats on the rear of the surround. I nailed the two sides together to keep the angle consistent and not warp the baffle. A shooting board is a handy tool.

9PnNeWa.jpg


And cut. This is a 2° or so angle.

bZtk35b.jpg


Naturally I had the 'moment' where I measured the length at least twice then proceeded to cut it 1/8" short. Mumble. That side is in glue up so I can recut it.

Russ
 
Back
Top